Themes in D365
Introduction:
With themes in D365, organizations have the ability to uniquely brand the D365 System with supported way to apply organization’s logo and colour choices to the application.
Themes:
Themes in D365 can be incorporated in several simple steps,
Step 1: Under Settings, select Customizations and then Themes.


Step 2:
By default, D365 default theme is present in the system. Now If we want to create theme for our organization, select New Theme. D365 default theme can be used as a reference to understand how themes work in D365.

Step 3:
Once New theme is selected the page layout is as follows:

Let’s see how individual field works and what it means.
- Here user can specify the Theme Name.
- After a name is specified and record is saved then default values are set.

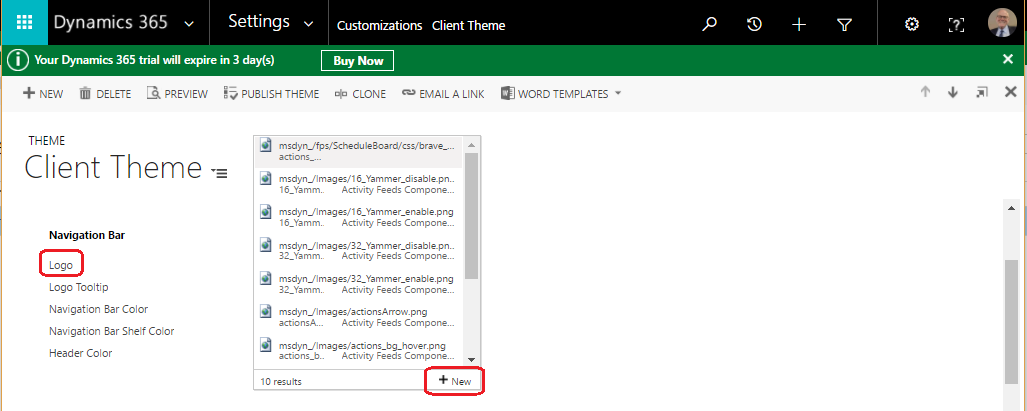
Logo:
- Sets selected Logo replacing default Dynamics 365 logo.
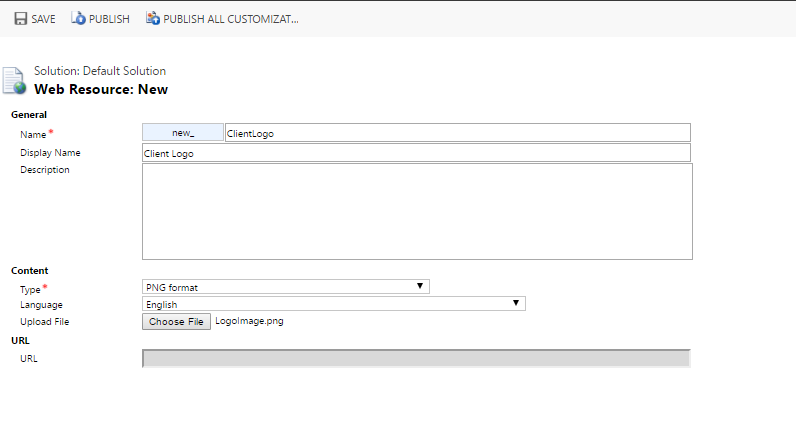
- Click “New” in search option of Logo field.
- Logo Image recommended size is 400px in width and 50px in height also supported image file formats are .gif, .jpg and .png
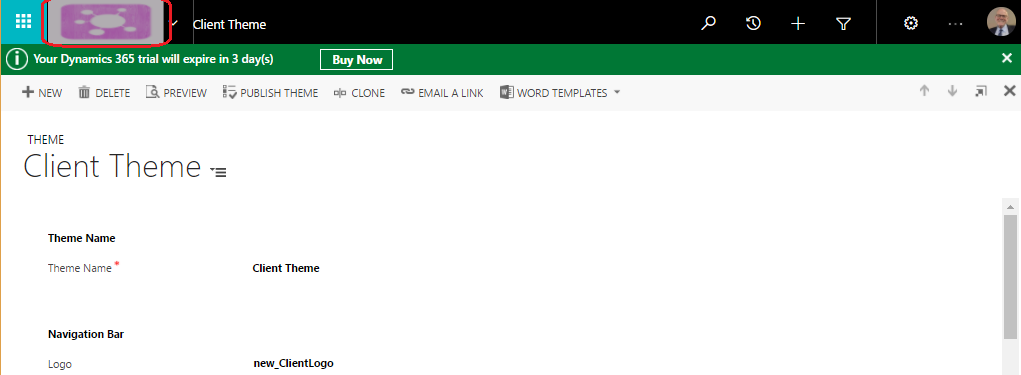
- Enter details as required ,upload logo image and publish web resource.
- Click button in Ribbon “Publish Theme” and below are changes as highlighted.
![]()
Logo Tooltip:
Set Tooltip on Logo as highlighted below:

Navigation Bar Color:
Set Navigation Bar Color replacing default black Color.

Navigation Bar Shelf Color:
This field sets Navigation Bar Shelf Color of Navigation Bar


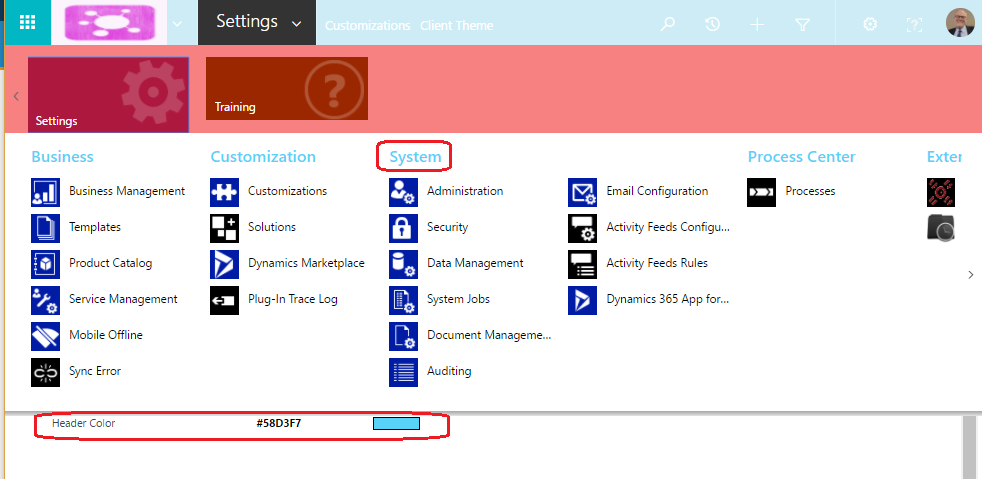
Header Color:
This setting sets Font Color of Header of Sub Area.
Global Link Color:
This field sets Color of link record.


Selected Link Effect:
This field sets Color of Selected Records.
Process Control Color:
This field changes Business Process Flow Header Color.
Default Entity Color:
This field sets default Entity Color for all Entities except Custom Entities.
Default Custom Entity Color:
This field sets default Color for all Custom Entities.
Control Shade & Control Border:
Above field settings set control border and shade.
Step 4:
Once theme is completed and we need to publish it by click Ribbon button “Publish Theme”.

Note: Publish theme gets applied to all D365 users.
Conclusion :
Hoping this blog explains how to design theme for client.