Developer Tools for Logic Apps 4: Using the Visual Studio Code to create your Logic Apps
VS Code is the light weight and yet powerful editor to create logic app. In order to create logic app in VS code you must have Visual Studio Code 1.31.0 (January 2019) or later.
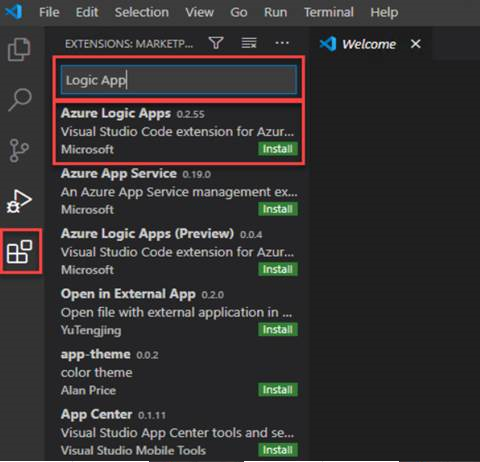
To start with, first, you must install the extension from the marketplace. To do that, search Azure Logic Apps extension in the marketplace and Click on Install.
- Open your Visual Studio Code and bring up the Extensions view by clicking on the Extensions icon in the Activity Bar on the side of VS Code.
- And search Azure Logic Apps;
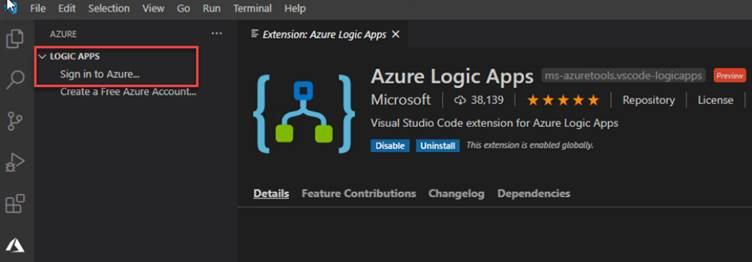
After the installation of these extensions, you will find the two Azure Logic Apps section and then click on the Sign In Azure option.
After you sign in then navigate to your subscriptions and create new Logic app (for this you need to right click on the subscription and select create new logic app)
- This will open a small Logic App creation wizard on the top, in the center of the Visual Studio Code window, asking if we want to Create a new resource group or choose an existing one.

- If we select Create new resource group, then a new window appears asking for you to provide the resource group name
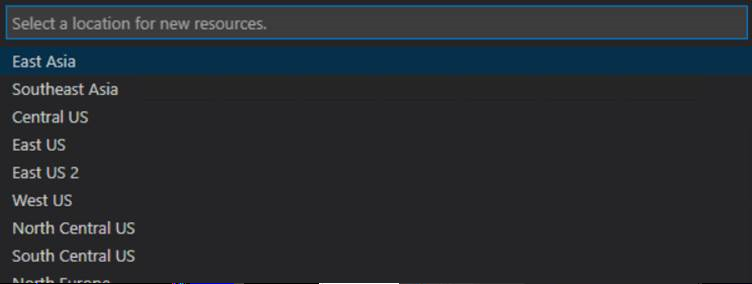
- Then we need to select a location to where the resource will be added
In last step of the wizard will be providing a name for your Logic App