Create Accounting period in Business Central.
CREATION OF ACCOUNTING PERIOD.
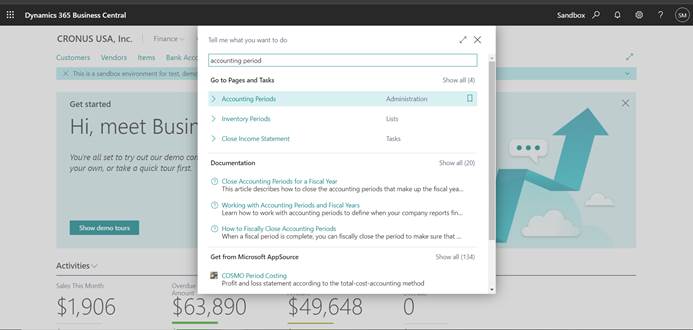
Step1. Globally search “Accounting Period” and click on the related link.
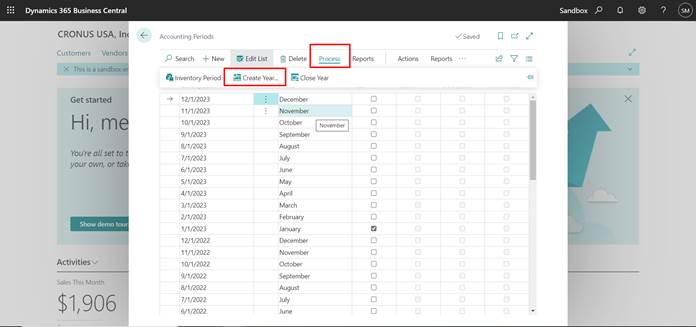
Step2. To create a new accounting period, select process and then click Create year.
Step3. By default, system will have a starting date as per the last created accounting period.
- The no. of periods is 12 by default
- Period length usually is 1M but can be modified to weeks or quarters.
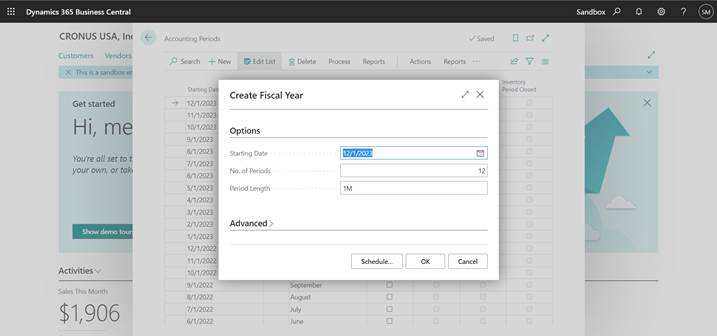
Click ok and a new accounting period is created.

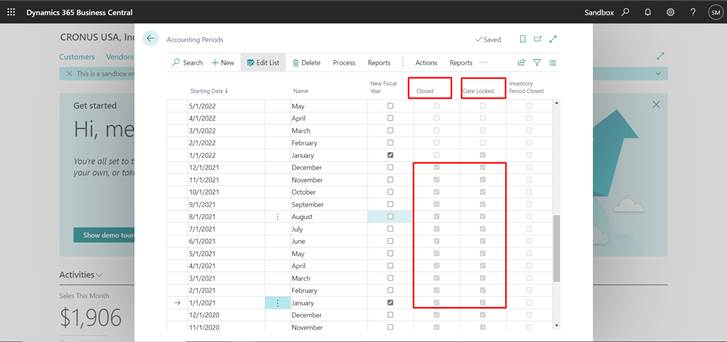
CLOSE ACCOUNTING PERIOD
Step1. Select Process action and then click on Close Year

Step2. System pops up a message stating the start and end date and once the period is closed it cannot be undone.
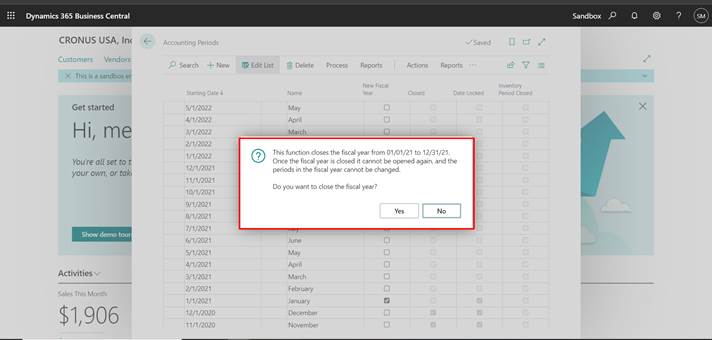
Once you click OK, the closed and data locked column is check true.
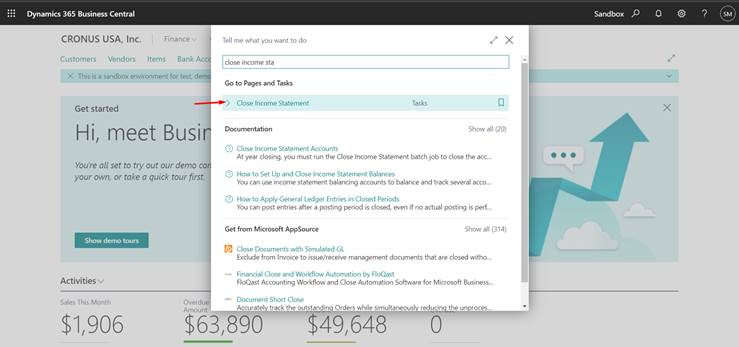
After Closing the accounting period, we need to close the Income Statement.
Step1. Globally search “Close Income Statement” and select the related link
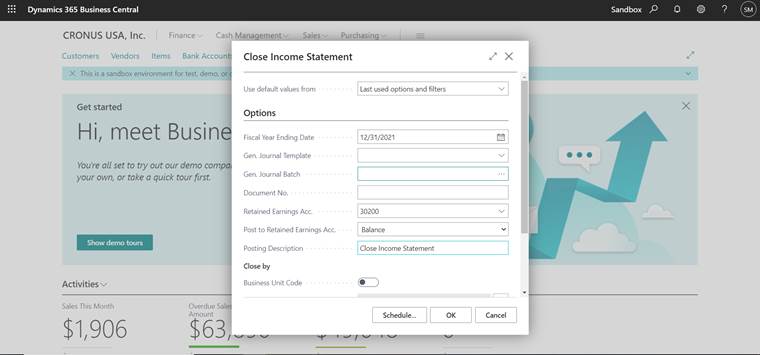
Step2. The Fiscal year ending date is automatically filled by the system
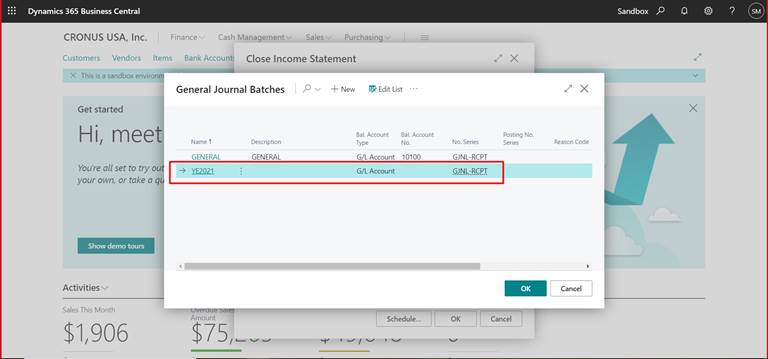
Step3. Select the journal template you need to post.
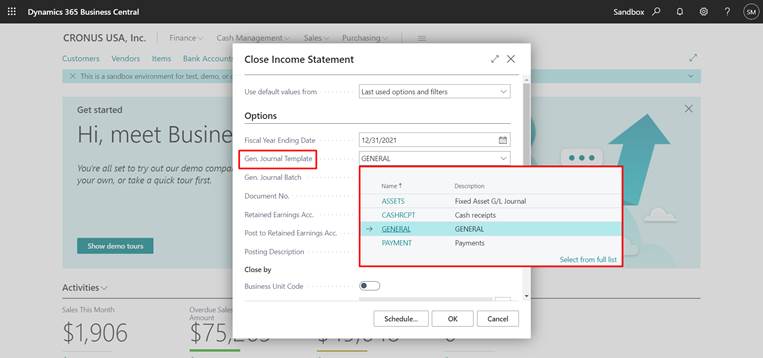
For Journal batch, create a new batch that can be uniquely identify year end.
Step4. Fill in all the necessary details.
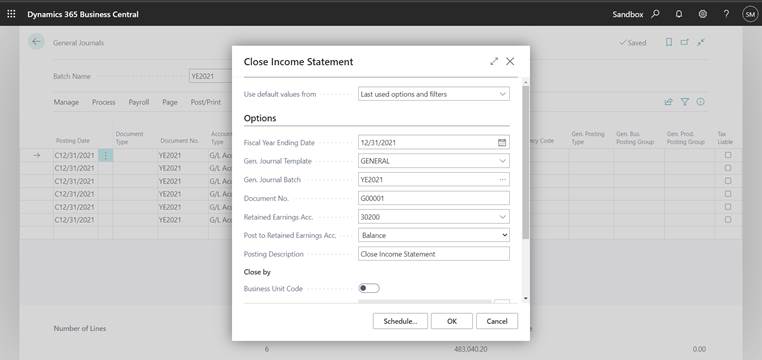
Click OK and Journal lines are created
Step4. Navigate to General Journal and select the batch name
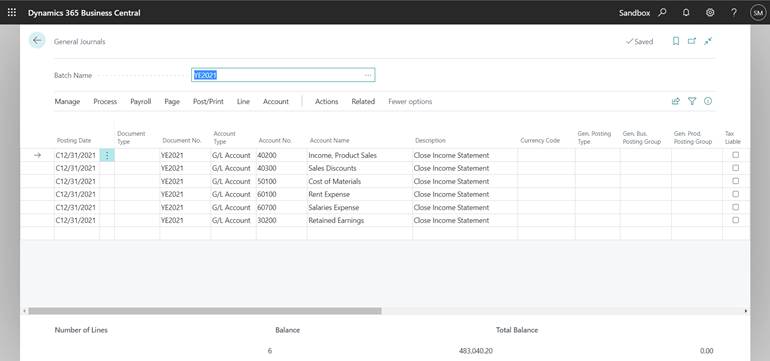
Check if the balance is correct before posting.
(First preview post the entries to verify the G/L entries)
Step5. Post the journal lines.
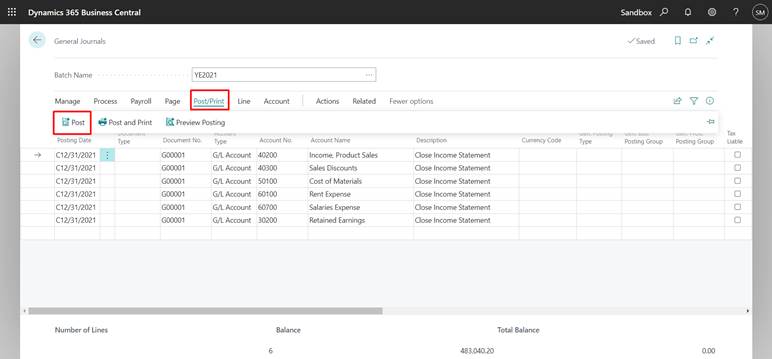
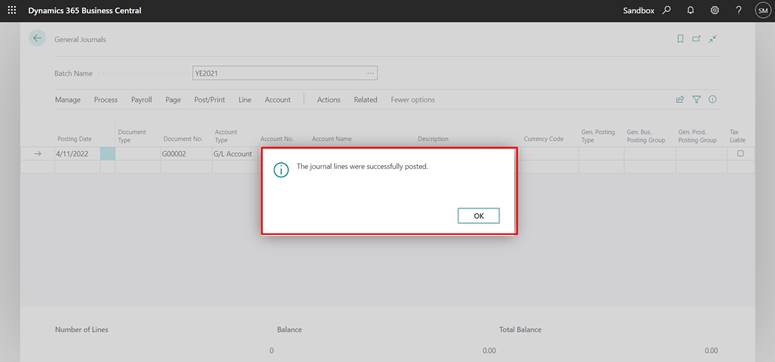
After posting check the retaining earning account.
Hope this helps!
Thank you.