How to create a Business Central free trial tenant
Introduction
Hi, Readers.
Today I would like to talk about How to create a Business Central free trial tenant.
References
https://www.microsoft.com/en-in/microsoft-365/enterprise/office-365-e3?activetab=pivot:overviewtab
Steps:
Step 1:
Search Office 365 E3 on Google or click on the below link.
https://www.microsoft.com/en-in/microsoft-365/enterprise/office-365-e3?activetab=pivot:overviewtab
Click on the Free trial
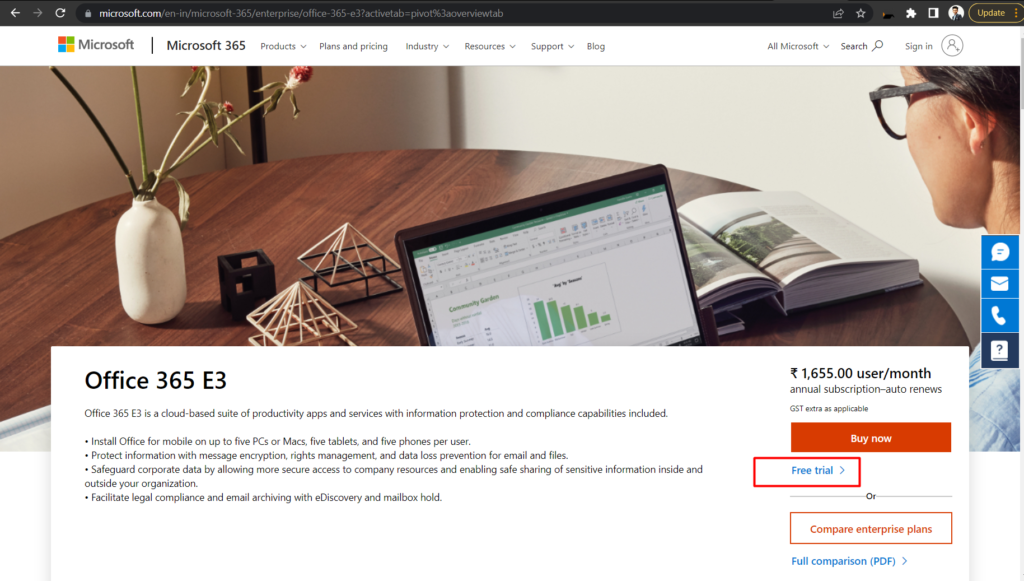
Fill in personal details which are required
Step 2:
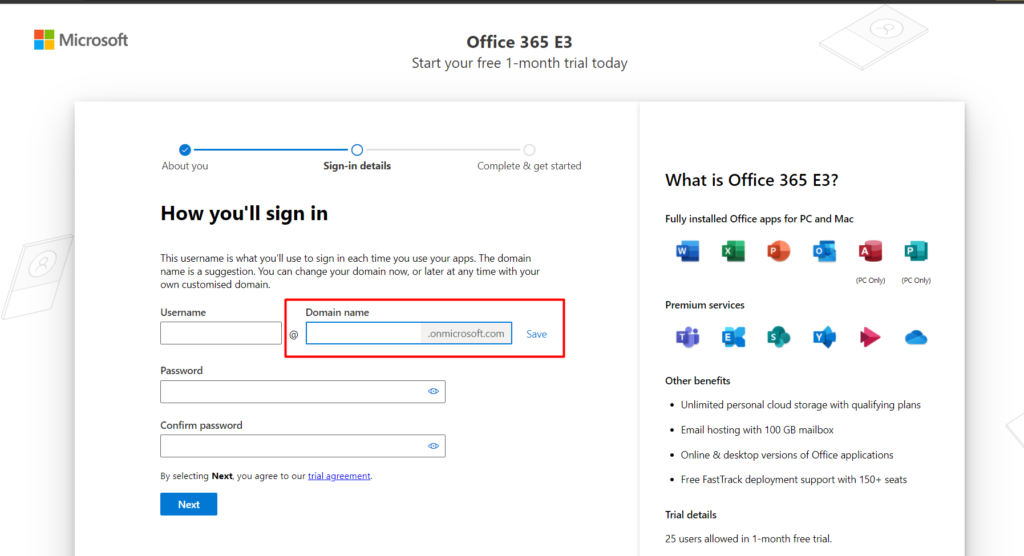
In the next screen, enter the domain you want example bclearning.onmicrosoft.com
Set a password and click on Next
Step 3:
Enter Any Registration no. (Ex. Any Unique no.)
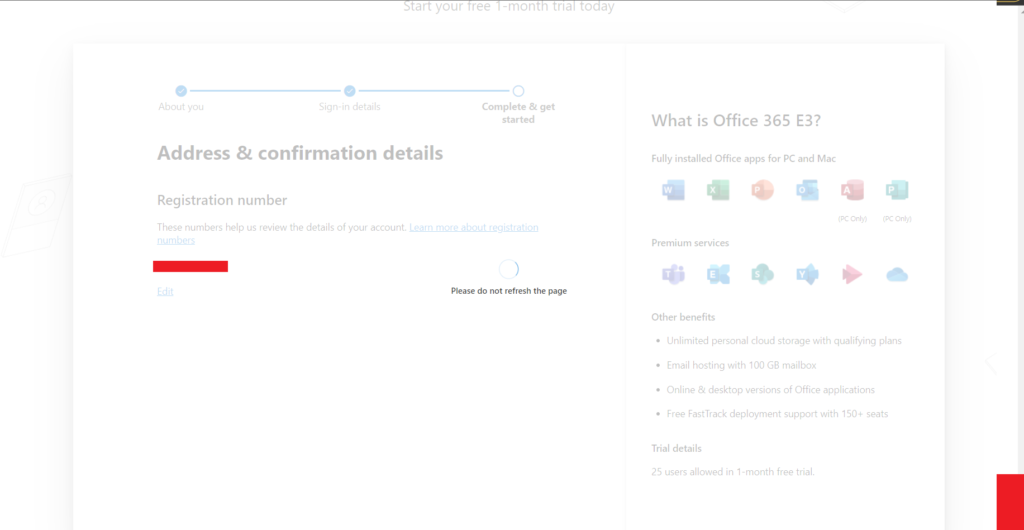
You have successfully created an Office 365 account.
Ensure that you are logged in with this account.
Step 4:
Now you need to open this link in your browser
https://businesscentral.dynamics.com/
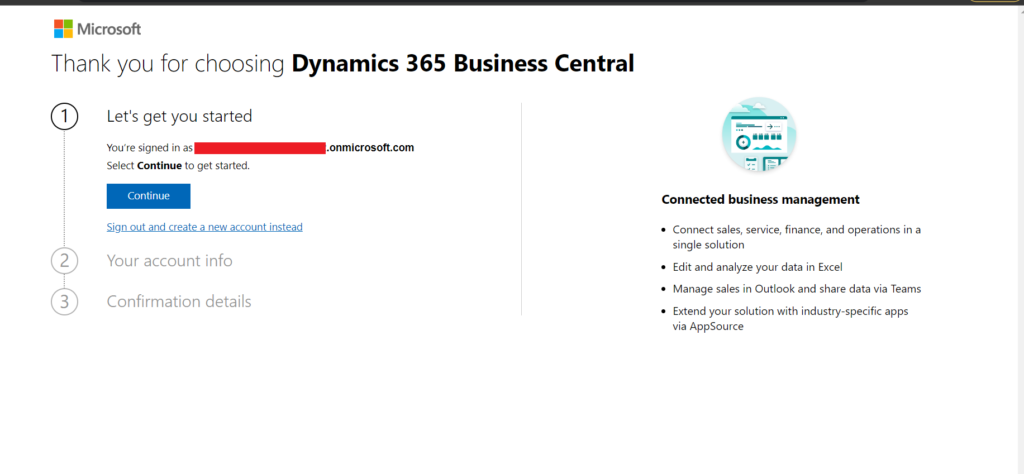
Click on Continue.
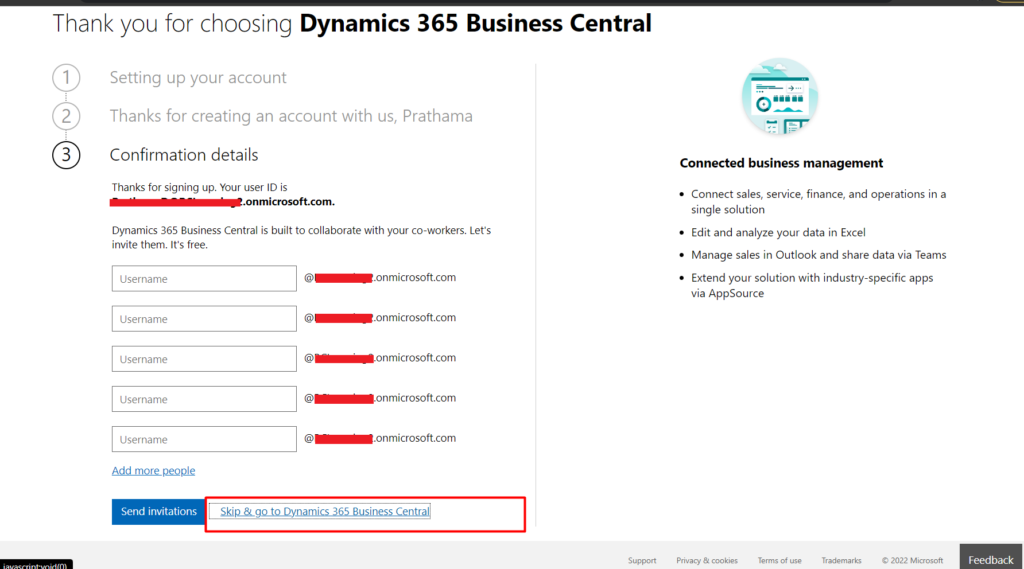
Step 5:
You can create multiple users here. If you don’t want it, just select the skip option.
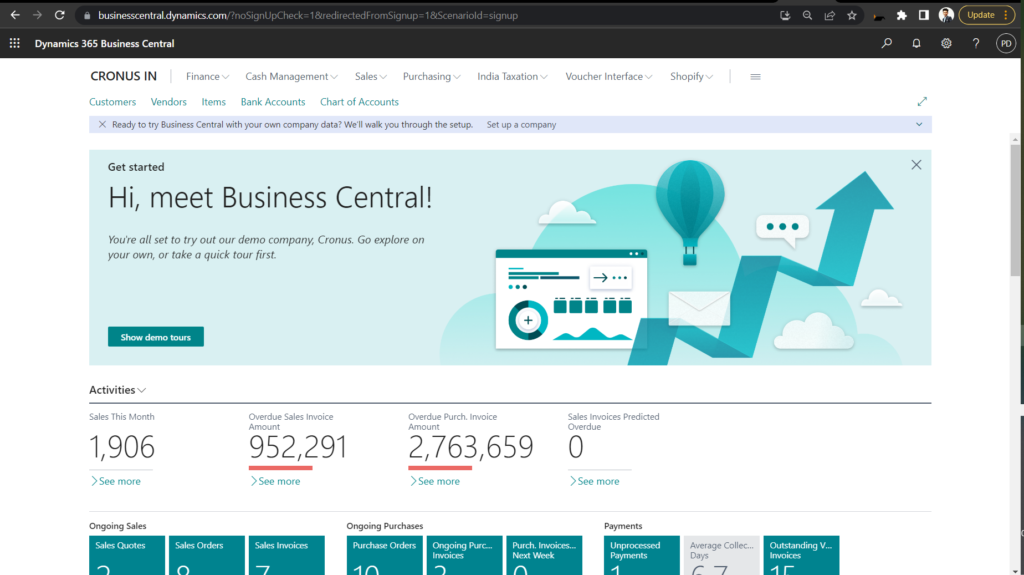
Here is your Business Central free trial tenant.
Now you can explore Business Central.
Hope this help.
Thanks for reading.