Tenant Creation and User Permissions for Business Central using Azure Portal
Introduction:
Creating a tenant in Microsoft Entra-ID or Azure Active Directory (AAD) is a simple process that can be accomplished through the Azure portal. The portal serves as a centralized hub for managing Azure Active Directory and executing various administrative tasks, including the creation of a new tenant. Additionally, this blog will cover how to create a user and grant them permissions.
Pre-requisites:
- Business Central OnCloud
- Azure Portal
Steps:
Sign in to Azure Portal.
- Visit the Azure portal and log in using your organization’s credentials.
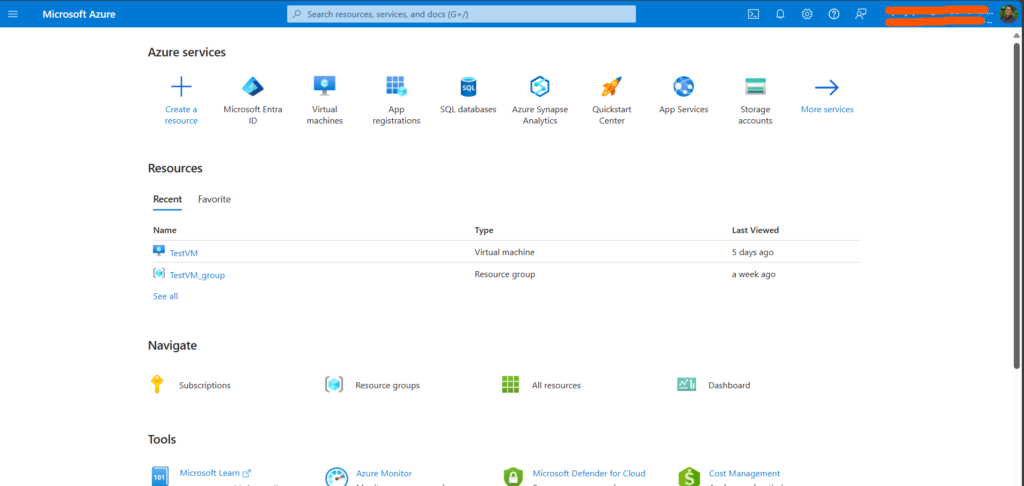
Navigate to Microsoft Entra ID tenants:
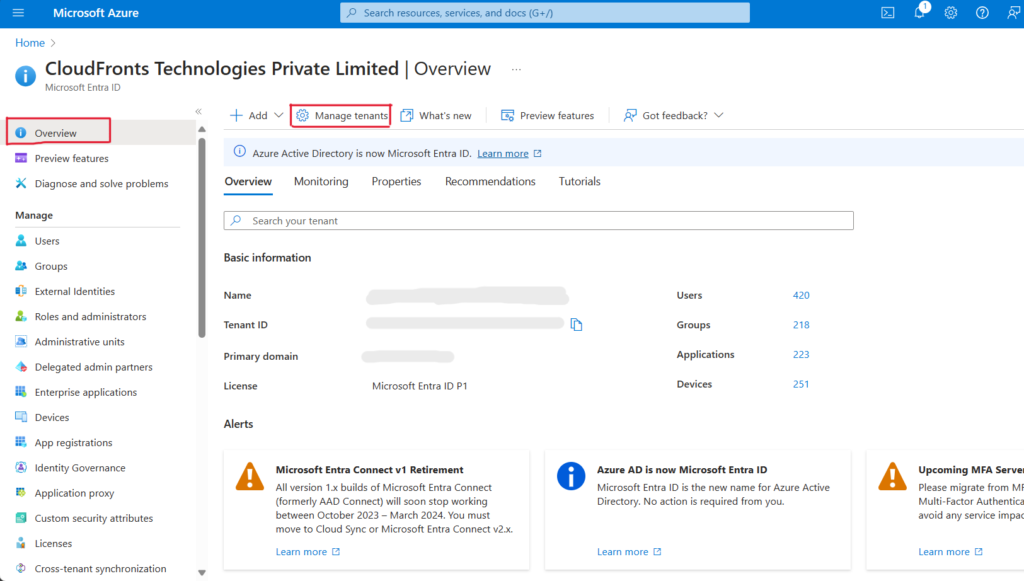
- Once you’re in the Azure portal, go to the Microsoft Entra ID section.
- Click on Overview and then select Manage tenants.
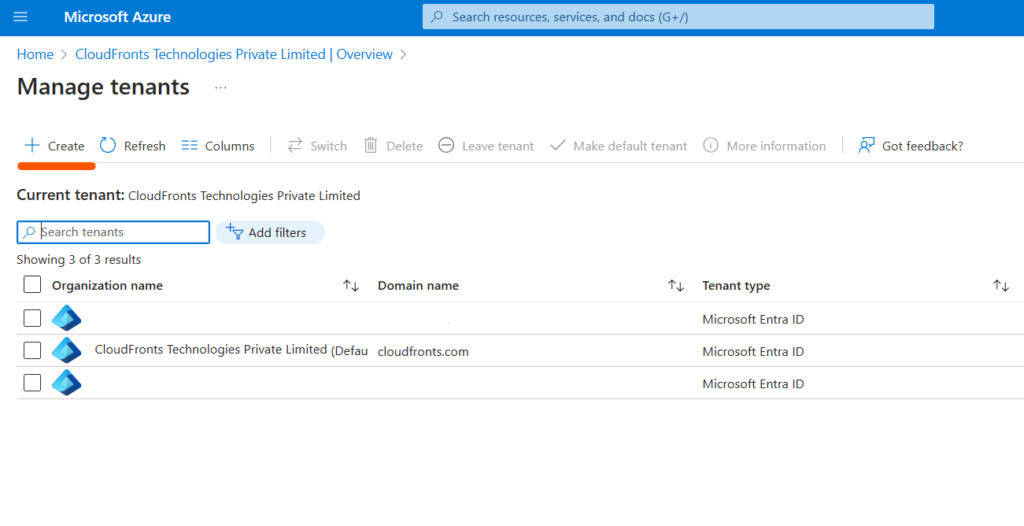
Select “Create”:
- Click the Create button to begin creating your new tenant.
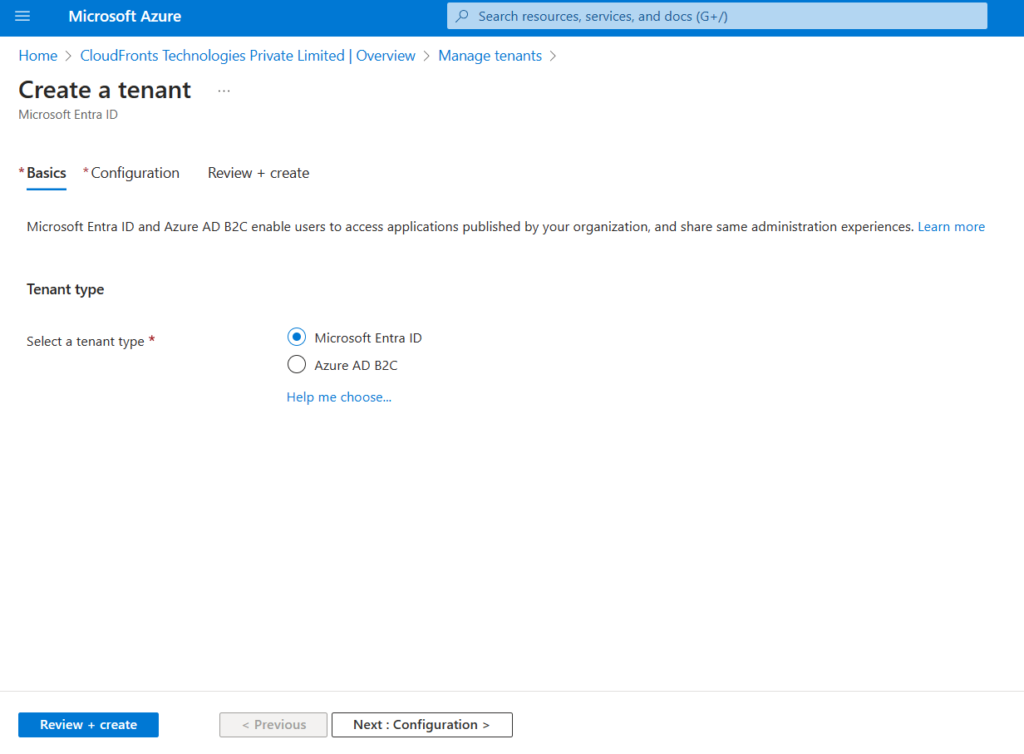
Choose the type of tenant:
On the Basics tab, select the type of tenant you want to create:
- Microsoft Entra ID: For standard organizational use.
- Microsoft Entra ID (B2C): For business-to-consumer scenarios.
Click Next: Configuration to proceed.
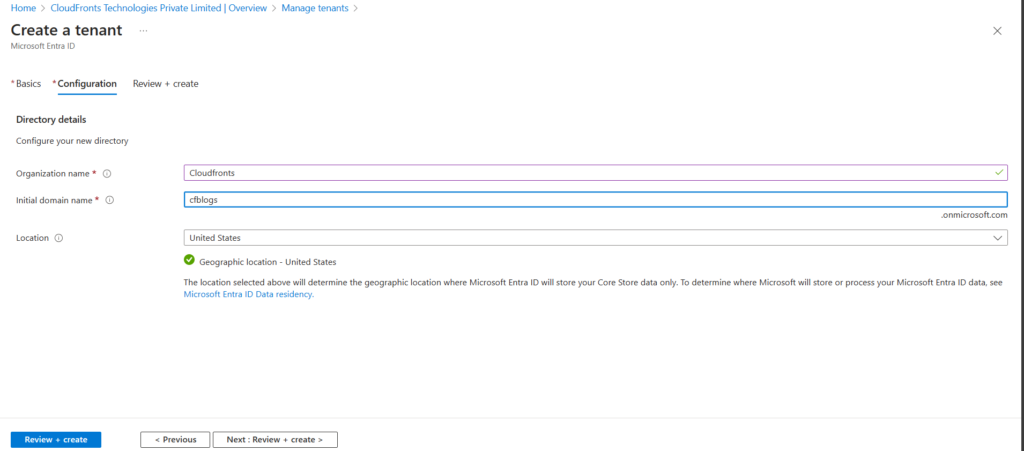
Provide the necessary information:
- On the Configuration tab, enter the following details:
Organization name: Type your desired organization name (e.g., “Cloudfronts”).
Initial domain name: Choose an initial domain name (e.g., “cfblogs”).
Country/Region: Select your desired country or leave it as the United States.
- Click Next: Review + Create.
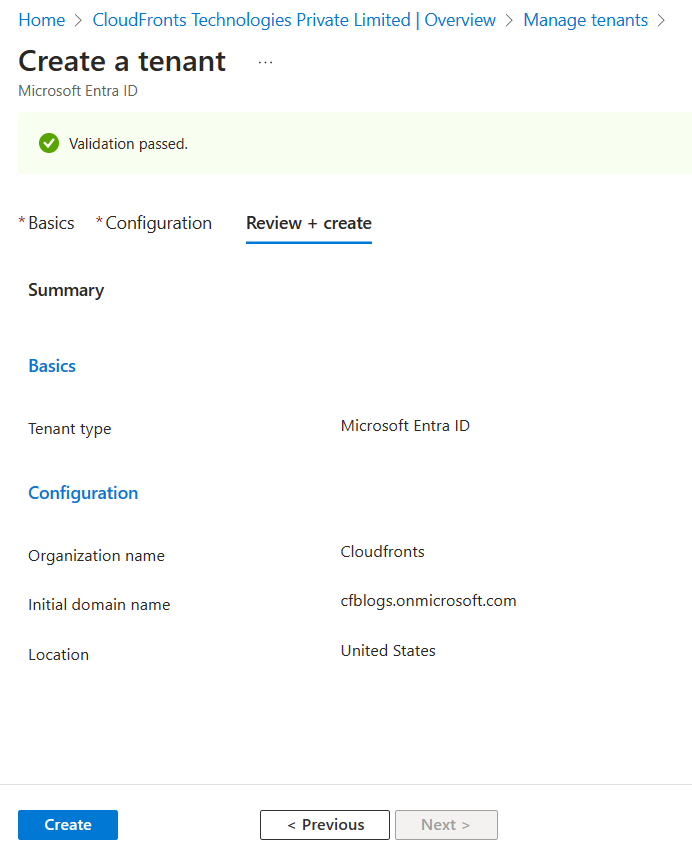
Review and create:
- Review the information you entered.
- If everything looks correct, click Create in the lower left corner.
Your new tenant is created:
- Your new tenant will have a domain like cfblogs.onmicrosoft.com.
- As the first user of this tenant, you’ll automatically be assigned the Global Administrator role.

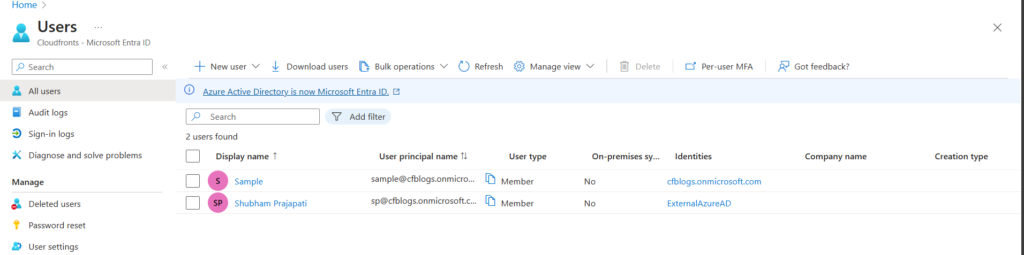
Check your user account:
- Navigate to the Users page to see your account.
- By default, you’ll also be listed as the technical contact for the tenant.
- New Users can also be created.
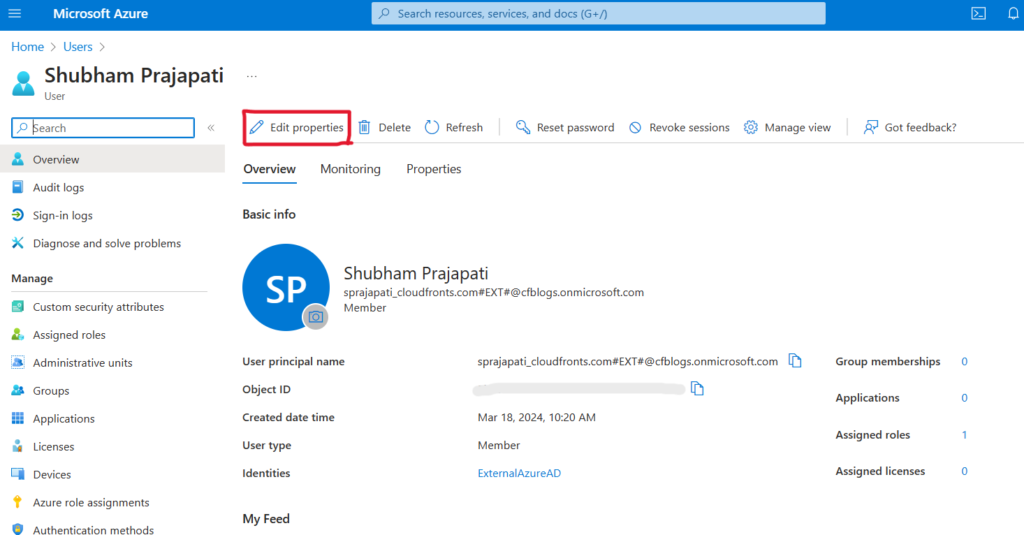
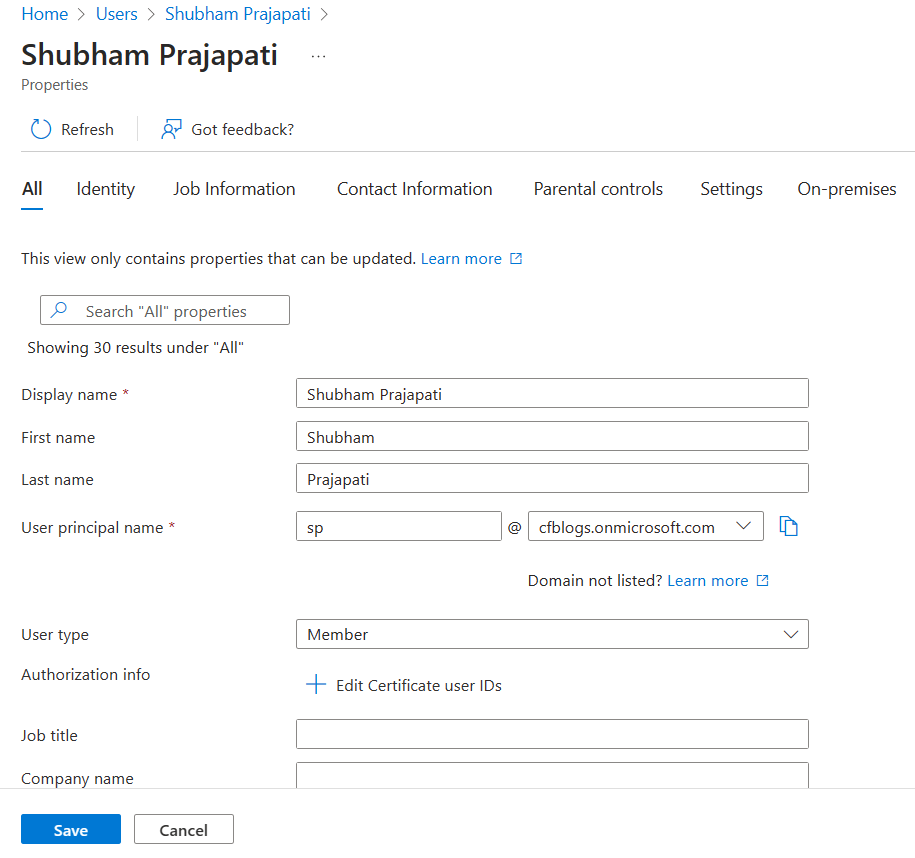
User can change their User Principal Name (which is generated by the system) by clicking on user e.g. “Shubham Prajapati”
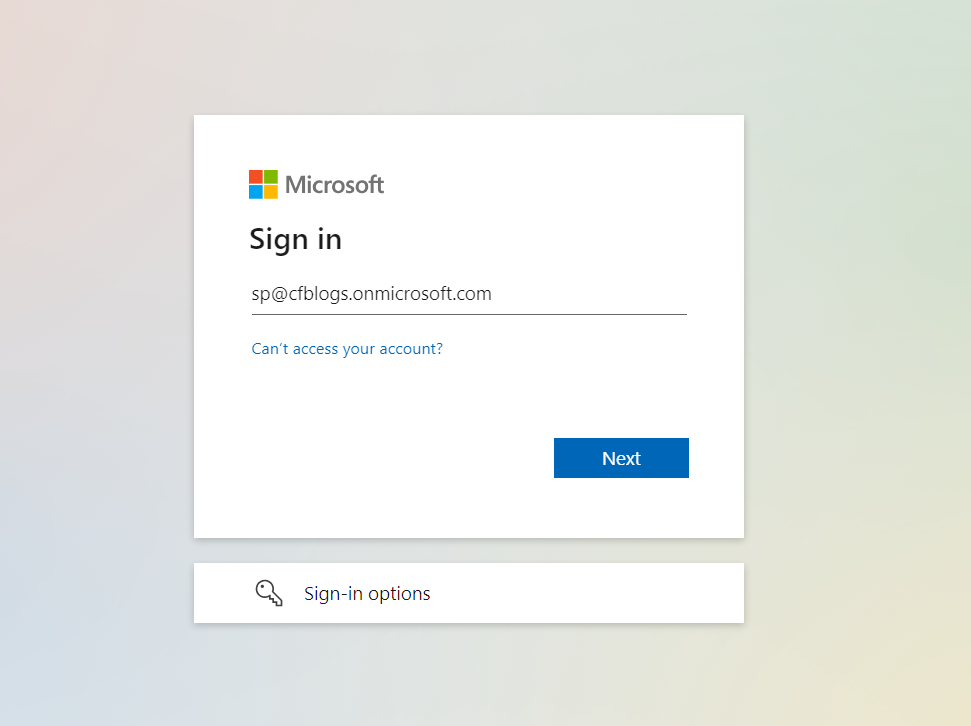
Now Sign in to Business Central Business Central Sign In | Microsoft Dynamics 365

Now put the User principal name
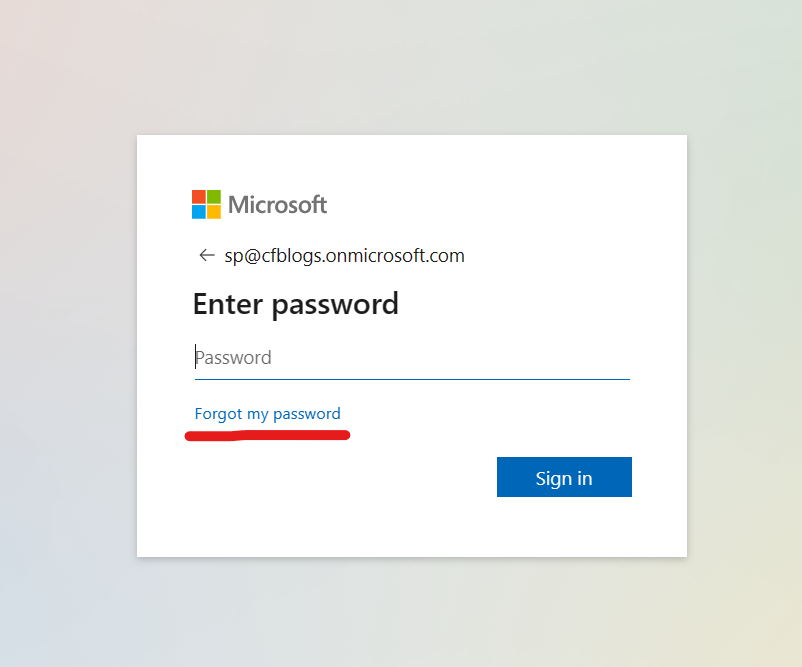
As password was not set during tenant creation. Go to > Forgot Password
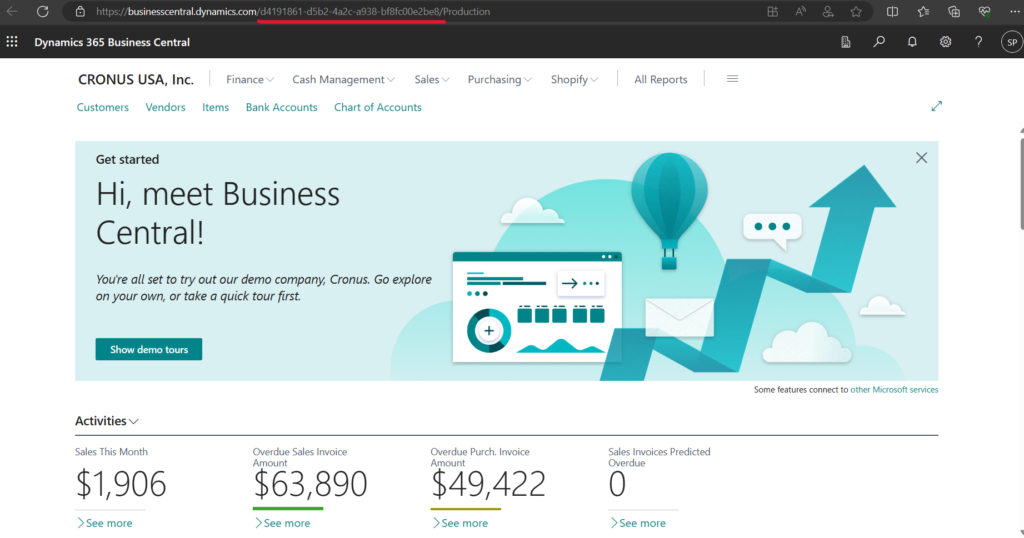
After setting up the password you can successfully login to your Business Central
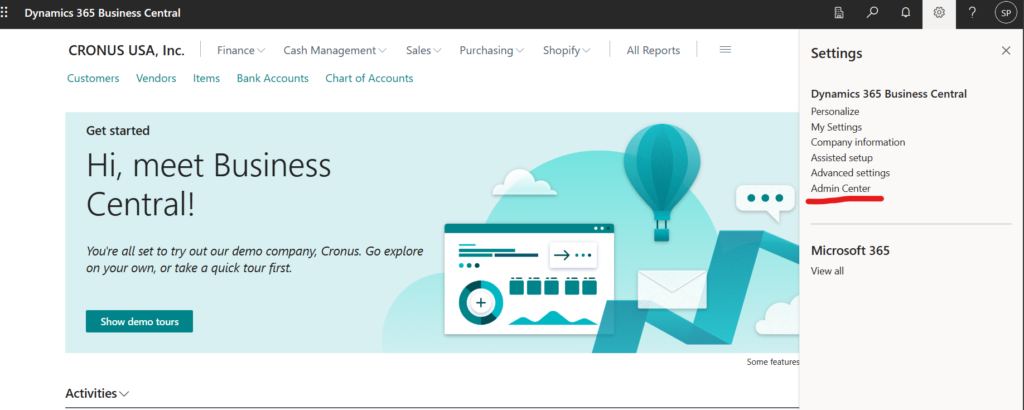
Now Go to Settings > Admin Center
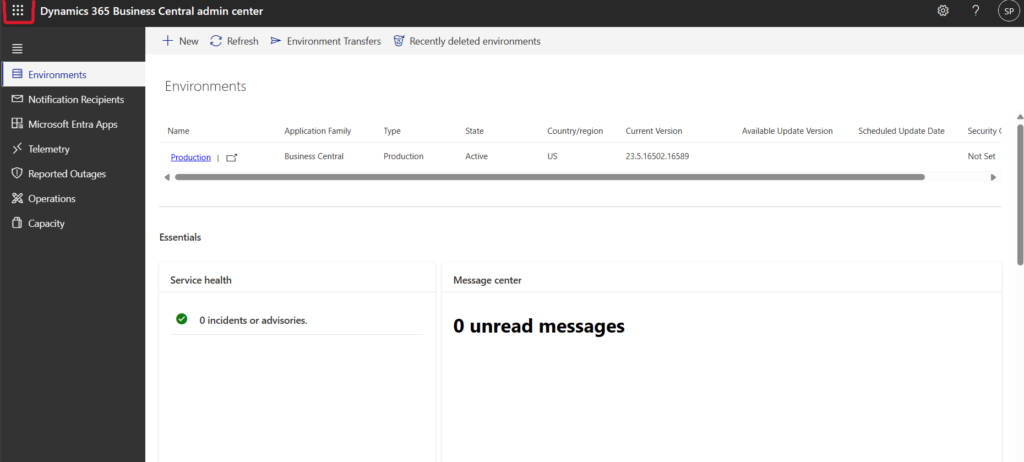
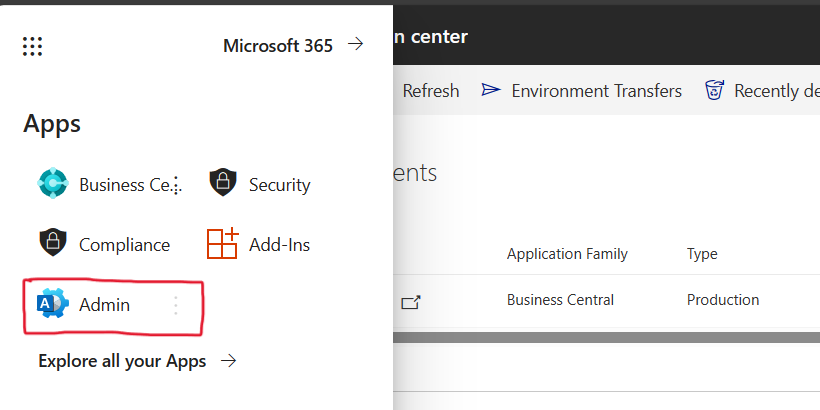
Now Click on Upper Left Corner > Admin
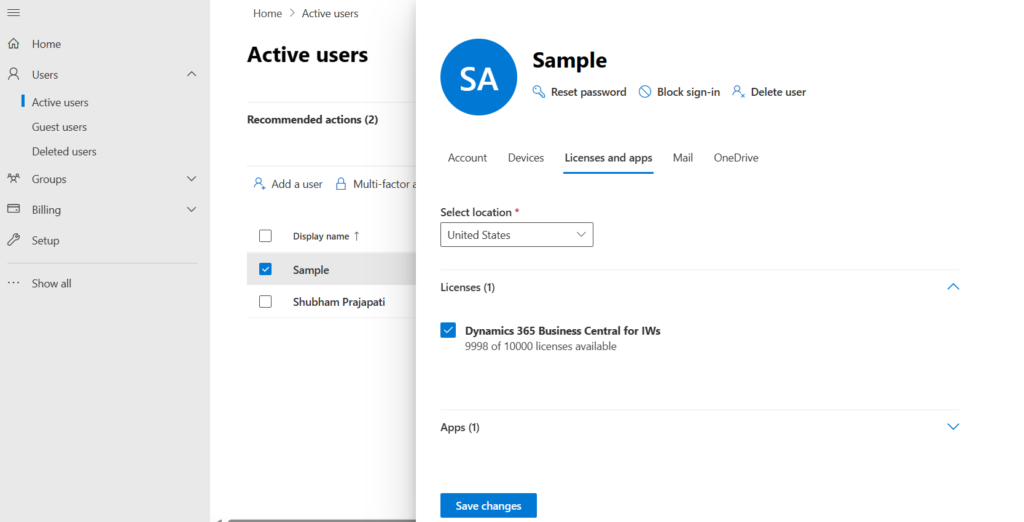
Go to Active Users > Click on the user which you want to give permission to access central, then go to Licenses and apps and select Licenses > Save changes
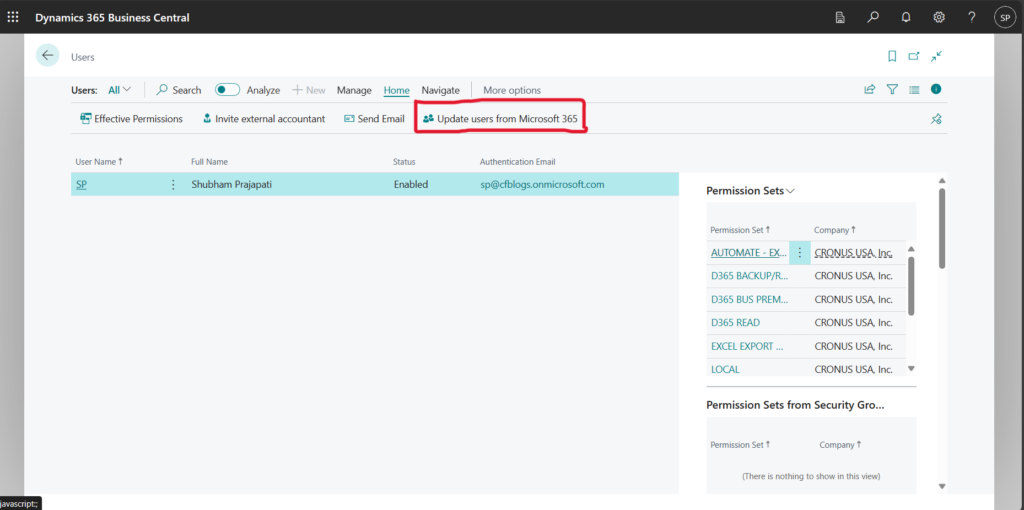
Once permission is provided Go to Users page in business central and click on Update users from Microsoft
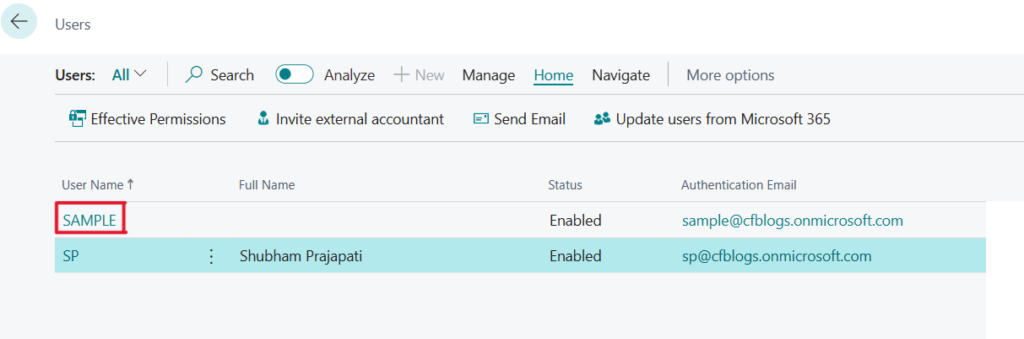
Now the user is being updated, to give environment permission click on the user whom you want to give permission
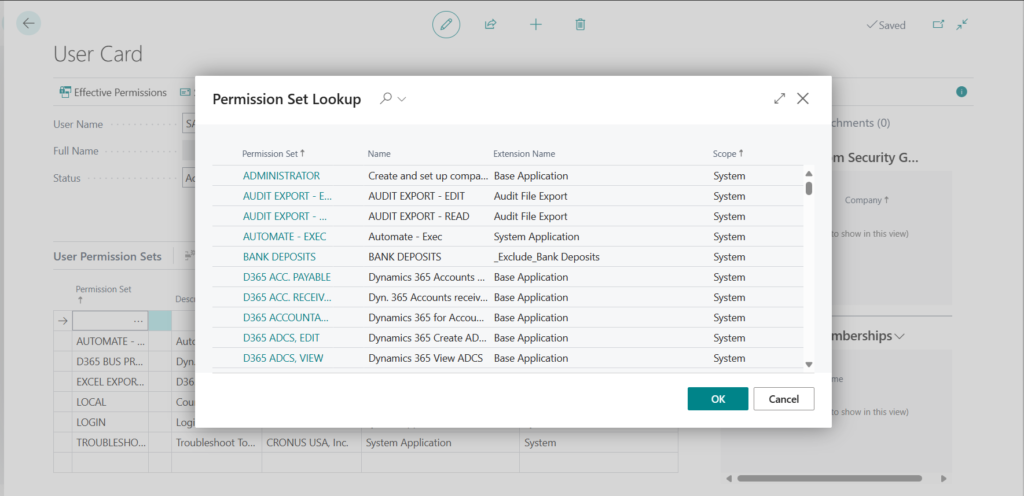
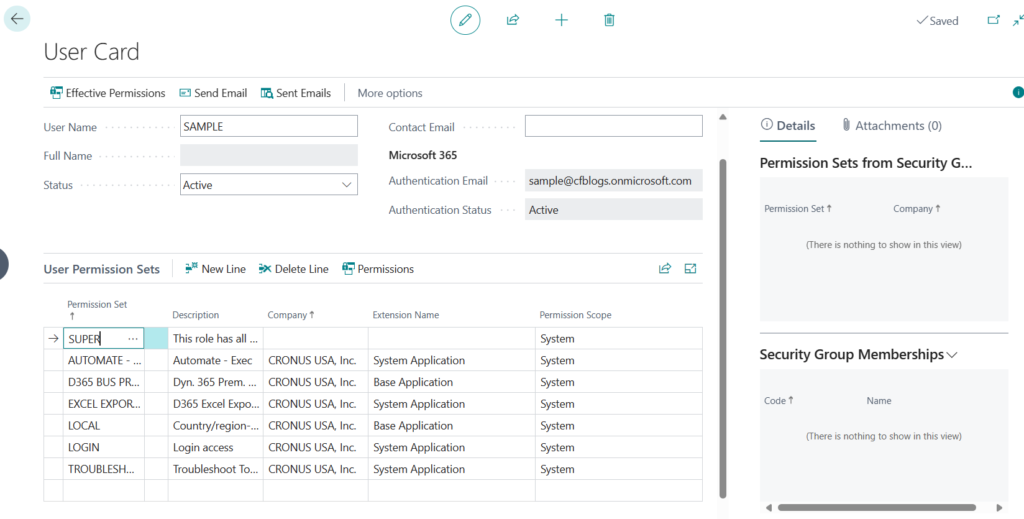
To give environment permission to user click on New Line > Select appropriate permission to user
Conclusion
Thus, in this blog we saw how to create a tenant for business central and how to add users and give permissions to them.
Thank you for reading hope this helps!