Transfer Environment in Business Central
Introduction:
The Transfer Environment feature in Microsoft Dynamics 365 Business Central allows you to seamlessly move an environment from one Microsoft Entra tenant to another. Here are the key points:
Purpose:
- Consolidation: When companies merge or acquire others, they may want to consolidate their Business Central environments into a single tenant.
- Partner Demos: Partners can transfer demo environments to customers for testing.
Self-Service Process:
- Starting with the 2023 release wave 2, administrators can initiate transfers without manual paperwork.
- Internal administrators in both the source and target tenants collaborate for the transfer.
Steps:
- Request: An internal administrator in the source tenant requests the transfer.
- Acceptance: An internal administrator in the destination tenant accepts the transfer.
- The environment is then moved seamlessly.
This streamlined process enhances flexibility and efficiency for managing Business Central environments across different tenants.
Pre-requisites:
- Business Central OnCloud
Steps:
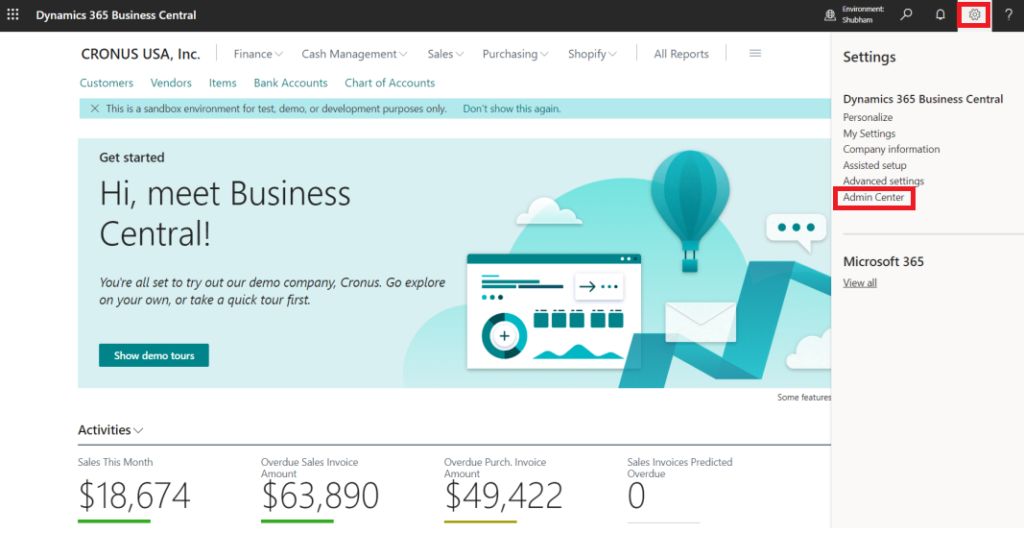
- In business central, go to Settings > Admin Center
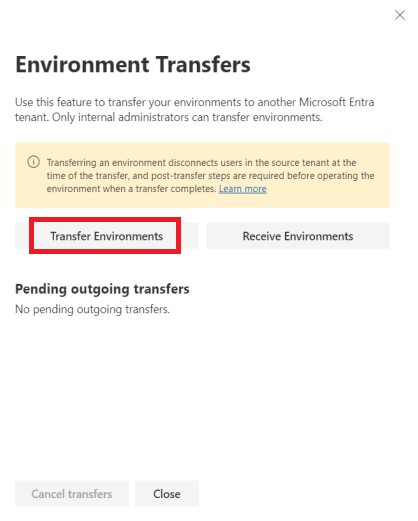
2. We are going to transfer “Shubham” to different tenant. Click on “Environment Transfers”

3. Go to Transfer Environment.
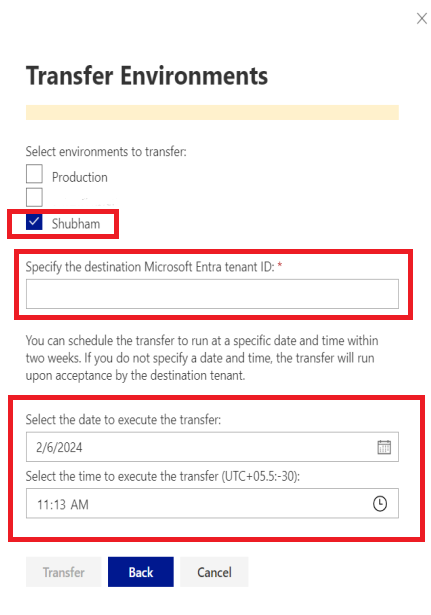
4. Select the environment that you are going to transfer and enter the Destination Tenant id. It is also possible to schedule the transfer within 2 weeks and set the time when it should be transferred.
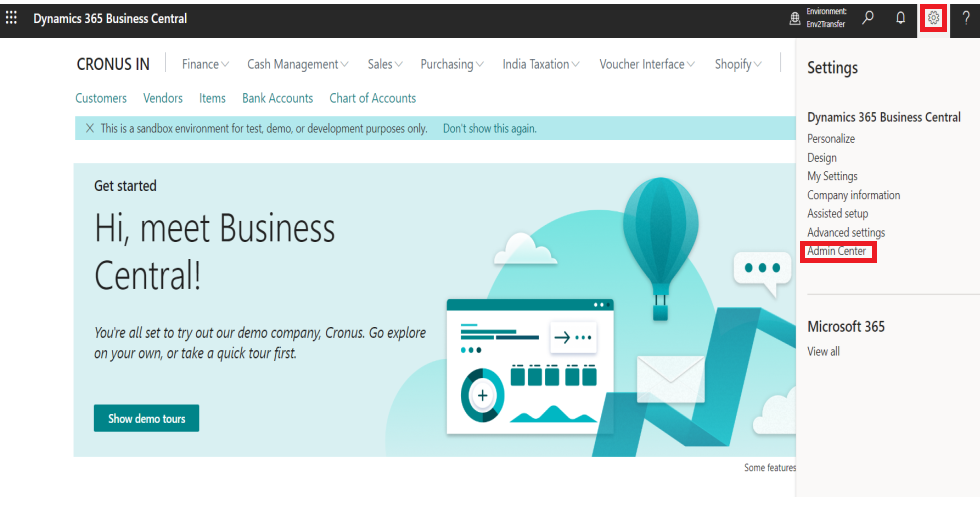
5. Now go to Destination Environment > Admin Center.
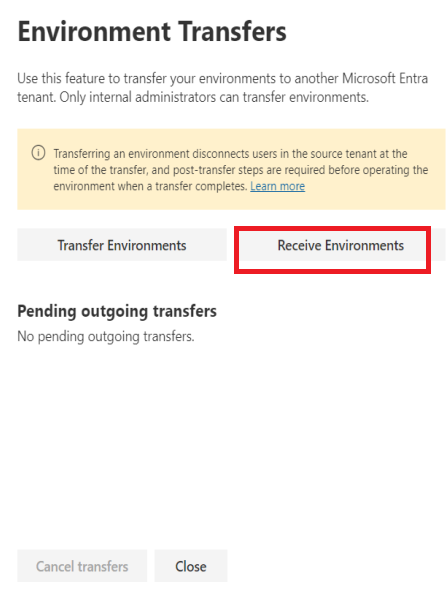
6. Click on Environment Transfer > Receive Environment.
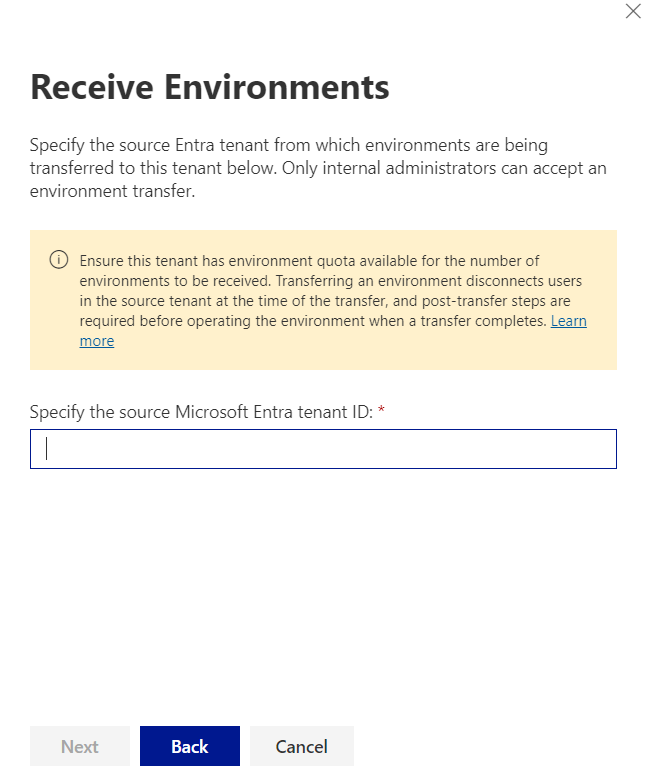
7. Enter the Source Tenant id (source from where the environment is to be send). Click on Next.
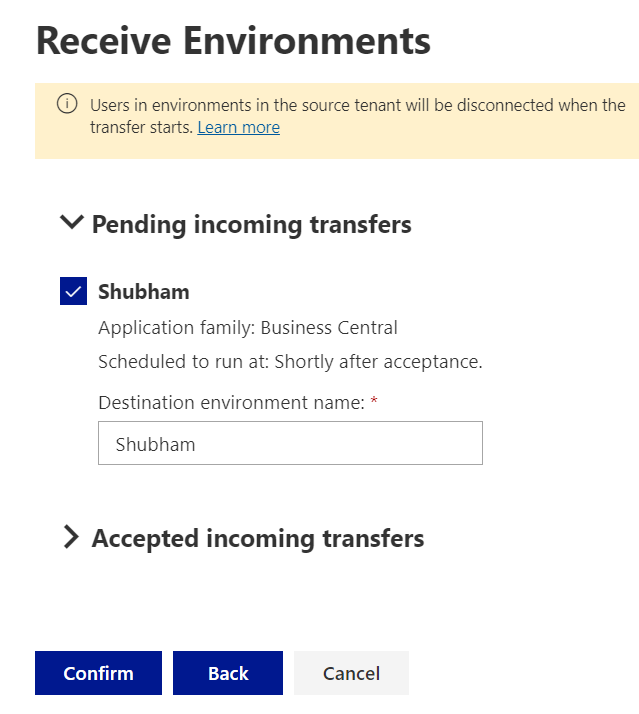
8. After that in Pending Incoming transfers the Environment will be displayed. Now just click on the Environment and Confirm.
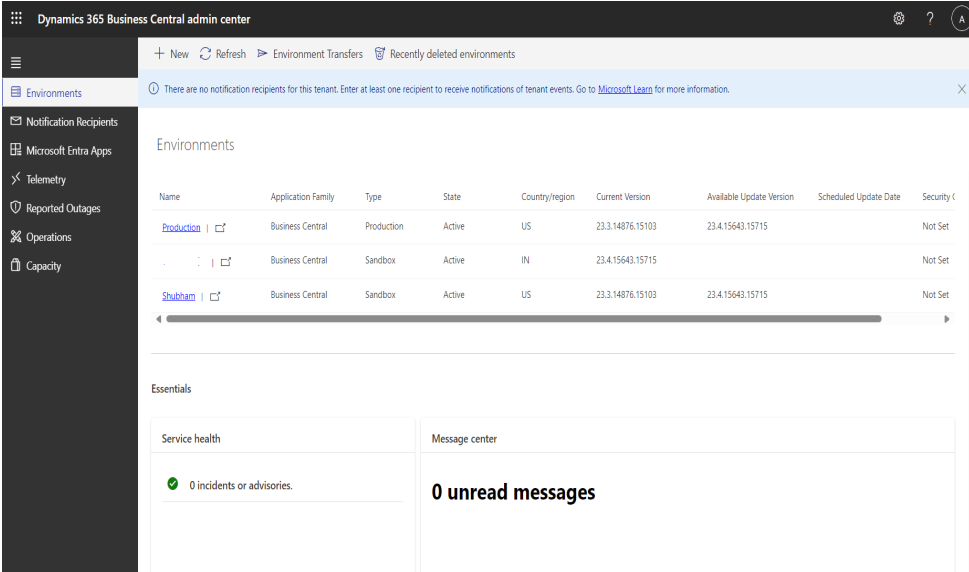
9. The Environment is being successfully transferred.
Note: If the destination tenant already has 1 Production environment and 3 Sandboxes, environment transfer is not possible. For successful transfer, the destination tenant must have no existing production environments (if you are transferring a production environment) or fewer than 3 sandboxes (if you are transferring sandbox).
Conclusion:
In conclusion, this blog has provided valuable insights about how to transfer environment in business central.
Thank you very much for reading. I hope this helps!