Configure Email Setup in D365 Retail (Commerce)
Email receipts are an environmentally friendly option for processing retail sales. The customer can decide whether to receive a printed receipt, an email receipt, or both. This topic explains how to set up email receipts in Dynamics 365.
Prerequisite
To get started, we must Install/configure a SMTP server to send an emails.
Steps:
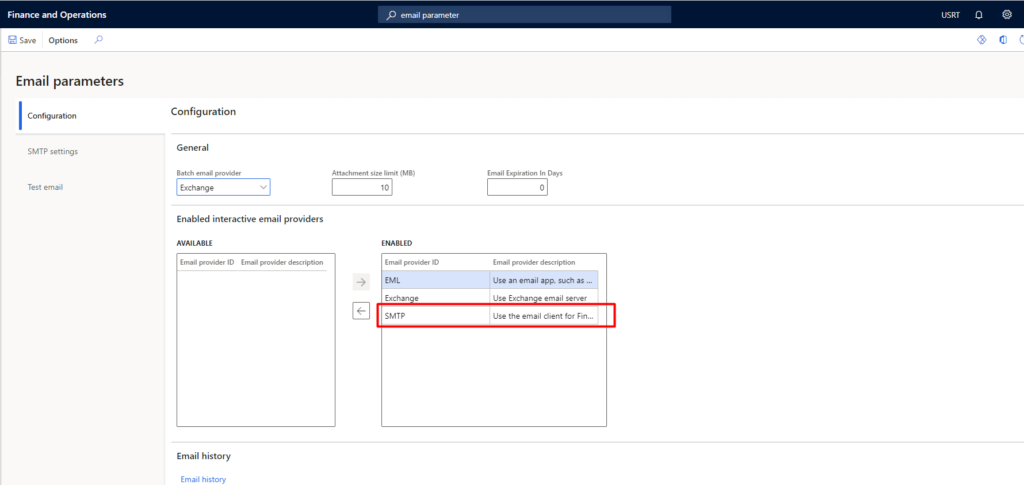
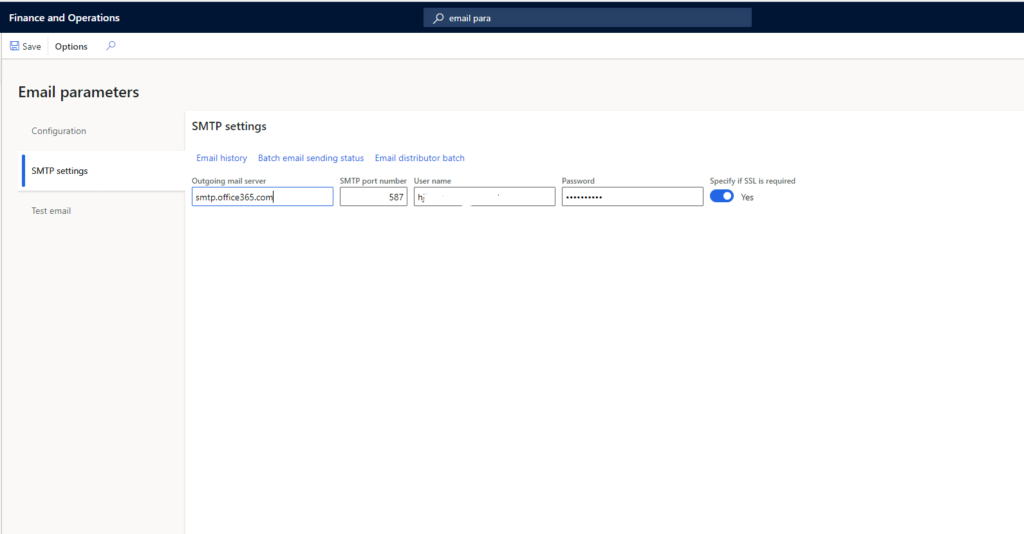
1.Connect Dynamics 365 to the SMTP server.
Path to go —- System administration > Setup > Email > Email parameters.
Set the values of following fields:
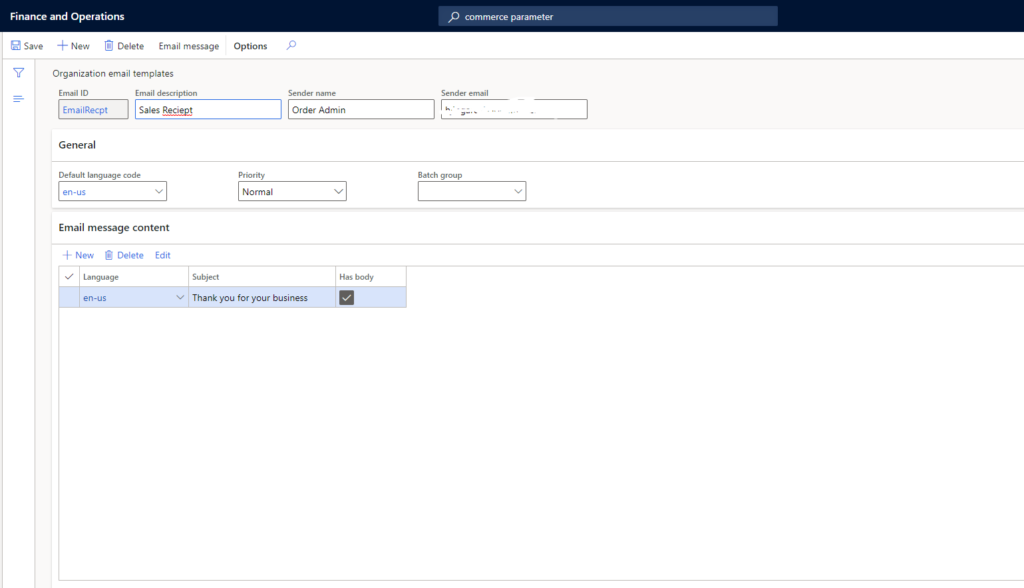
2.Email Template setup for receipt
Path to go Organization administration -> Setup -> Email templates.
Create a template for Email receipt.
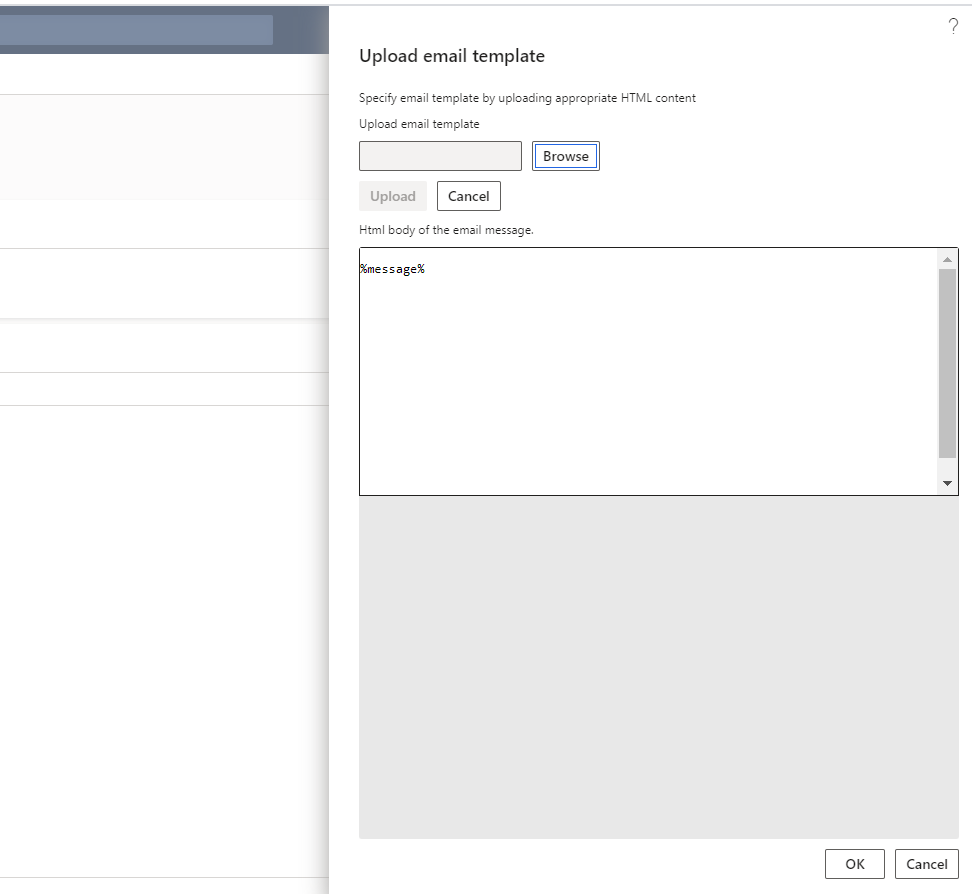
Click on “Edit” and upload email template for the body of the email messages to be sent. Insert the placeholder %message%.
3. Set Email Notification Profile
Path to go Retail and commerce -> Headquarters setup -> Parameters -> Retail parameters. Click on General tab and select the value for “Email Notification”.
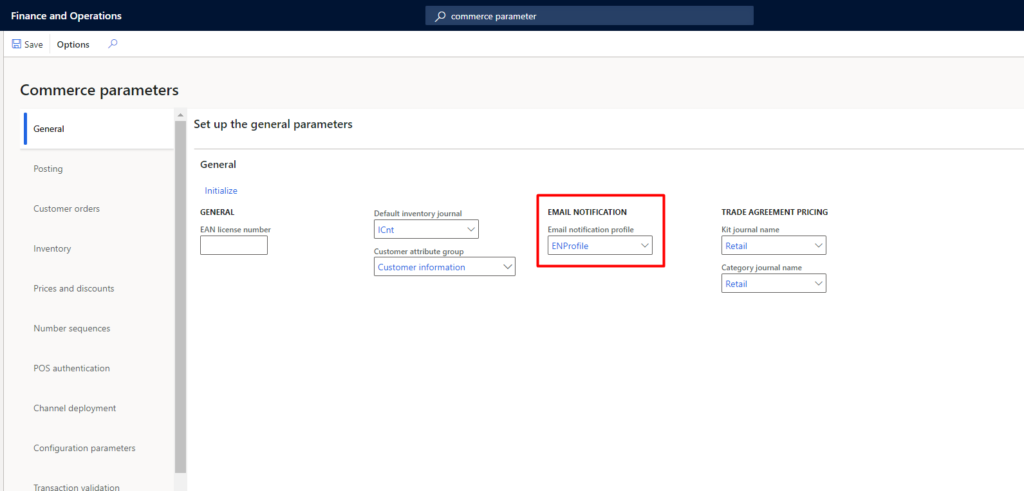
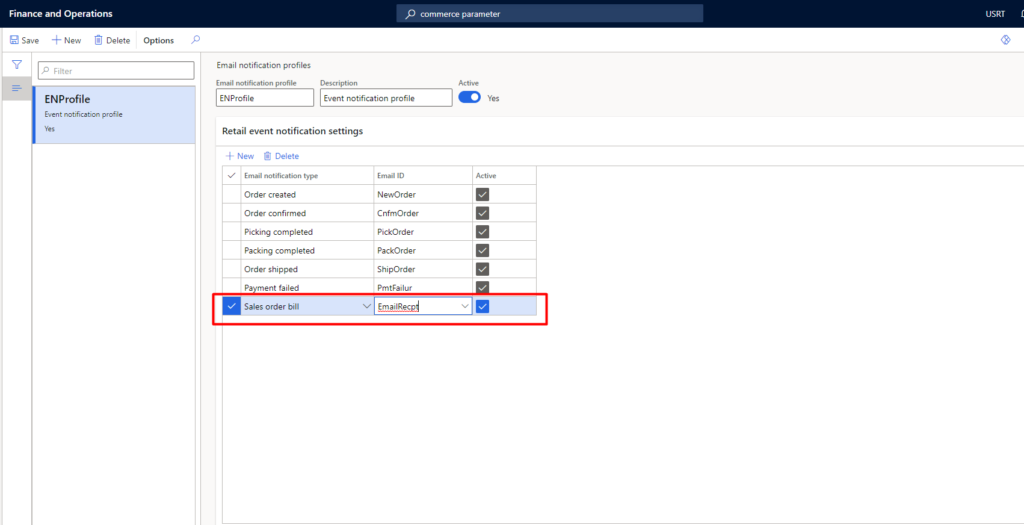
Click on the value selected for “Email Notification”.
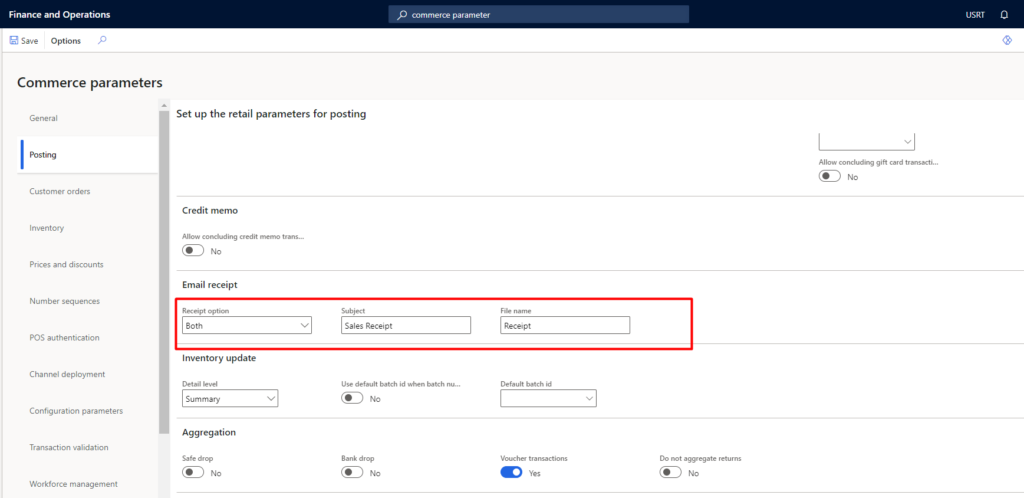
4. Set default options for email receipts
Path to go Retail and commerce -> Headquarters setup -> Parameters -> Retail parameters.
Click the Posting tab, and expand the “Email receipt”.
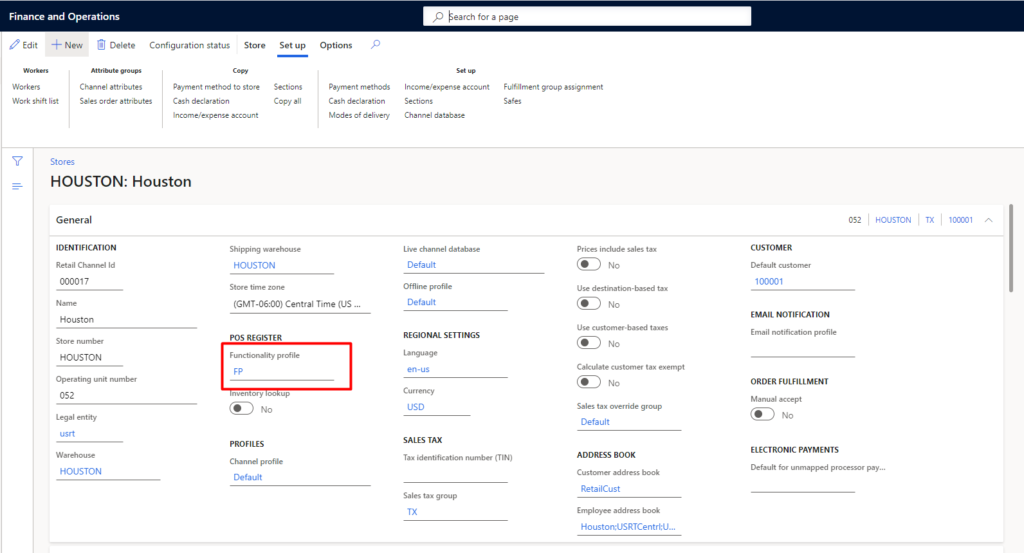
After this open Store where you need to configure Email Setup. And select email notification profile.
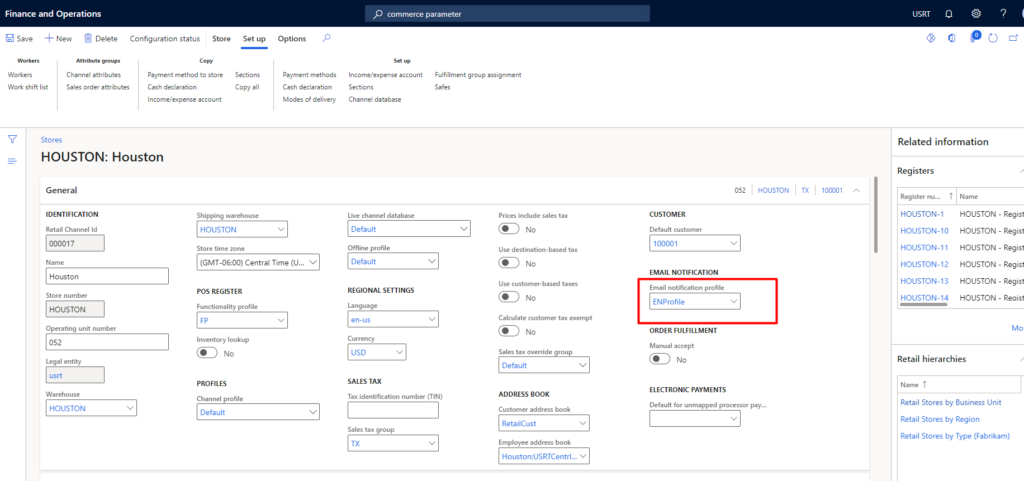
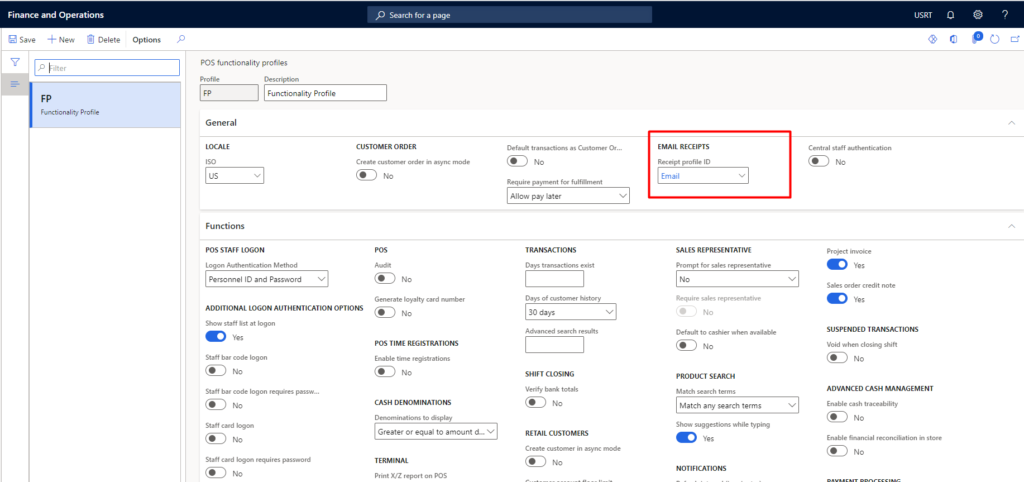
Click on functionality profile of Store
Select Email receipt id
Run below jobs
1070 – Channel configuration
1090 – Registers
1110 – Global configuration
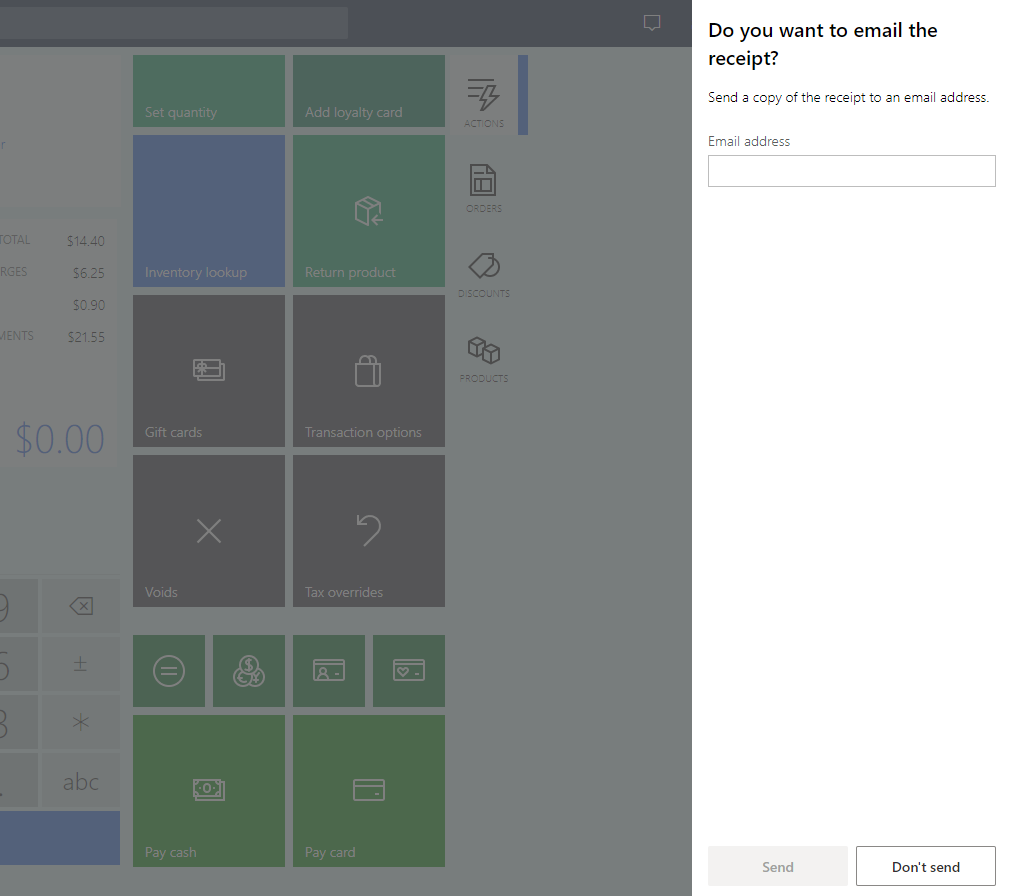
Now you will get pop up of email receipt from POS after Sales done.
Hope this helps!