Export Power BI data to CSV via Power Automate visual and upload to SharePoint
After PowerAutomate was added in PowerBI as a preview feature, it is finally available for general use. In this blog we are going to use this PowerAutomate visual to export PowerBI data into CSV and upload the CSV on Sharepoint.
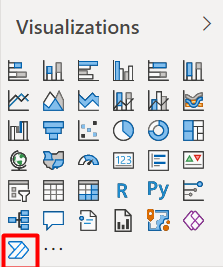
- Open PowerBI Desktop and drag the PowerAutomate Visual, if it isn’t available in the visualization pane update your PowerBI Version.
- Now add the columns, you need in your CSV file.

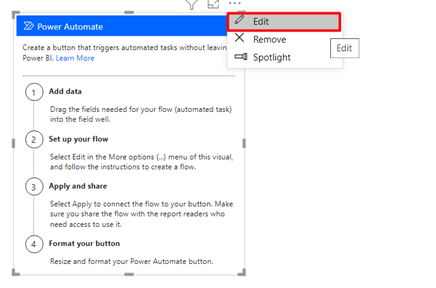
- Click on the ellipsis button on the visual and select edit.
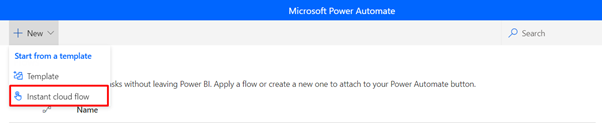
- Create new flow and select instant cloud flow.
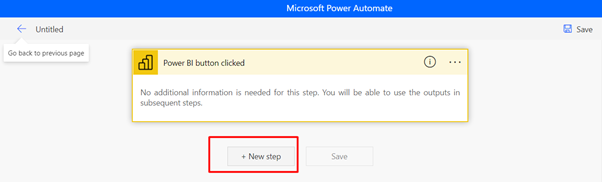
- A default PowerBI trigger would be created, click on add new step.
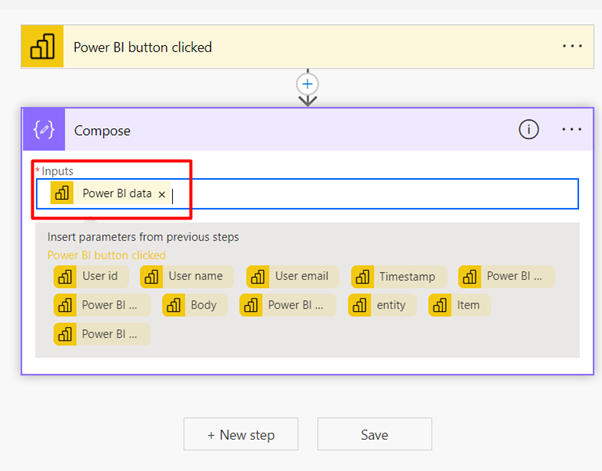
- Search “Compose” action in the search bar and select it as we have to compose PowerBI Raw data first. In the Inputs select PowerBI Data.
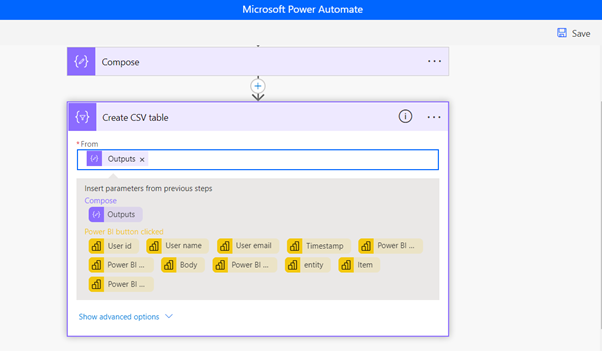
- After composing we have to convert this data into CSV, therefore add “Create a CSV table” step and add previous output.
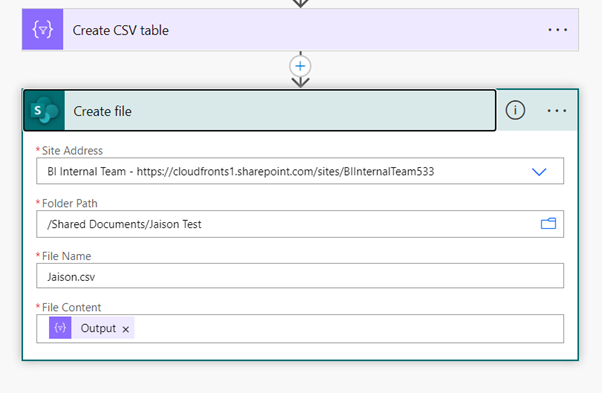
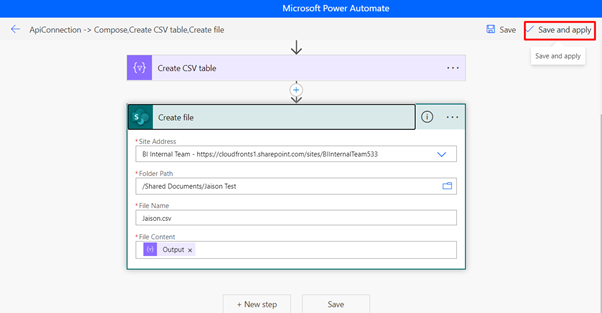
- Now we have to upload this CSV into sharepoint so we will add a step to create a sharepoint file. Enter the Sharepoint address, Folder Path, give the file any name desired and put “.CSV” as suffix.
- Save and close the map.
- To run the flow, press Ctrl and left click.

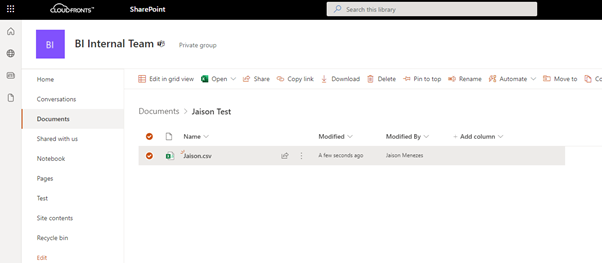
- As you can see the file in SharePoint is created.
Thanks for reading, hope this blog helped!