Creating Custom Connector for Shopify in Power Automate- Part 2
In Part 1, we created a Custom connector for Shopify and added One Action to retrieve customer data.
In this blog we will add more Actions to our Shopify Connector.
Actions:
- Create Customer
- Update Customer
- Retrieve all the products
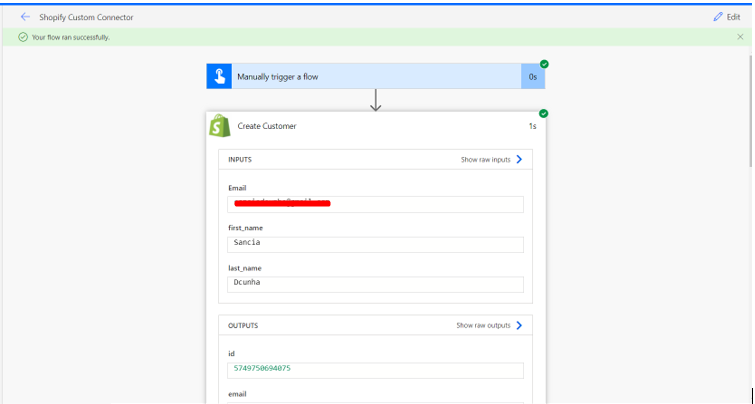
- Create a new Action to create a new customer and repeat the steps as done in the previous blog(Part 1)
2. Add a request
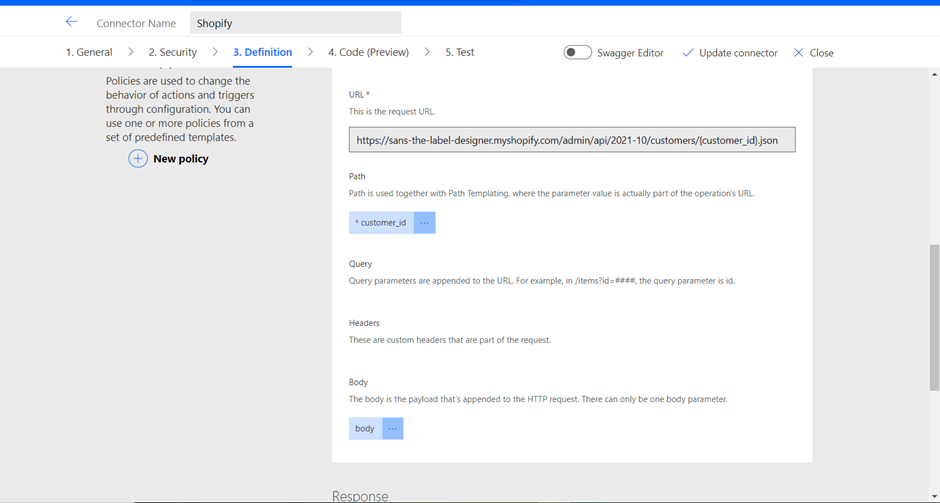
3. Select the verb and Post request URL, to create a new customer in Shopify
URL-: https://{apikey}:{password}@{hostname}/admin/api/2021-10/customers.json
Example URL (For reference)-
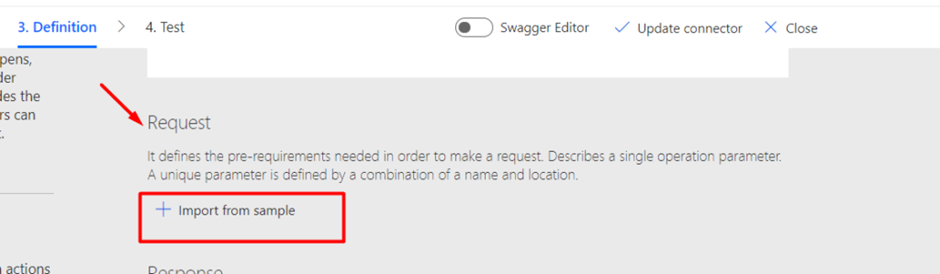
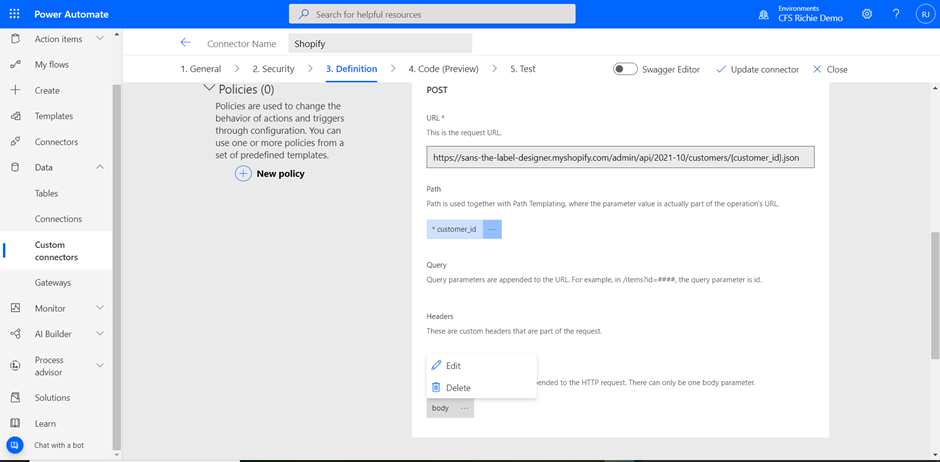
4. In the Request area, choose body then Edit.
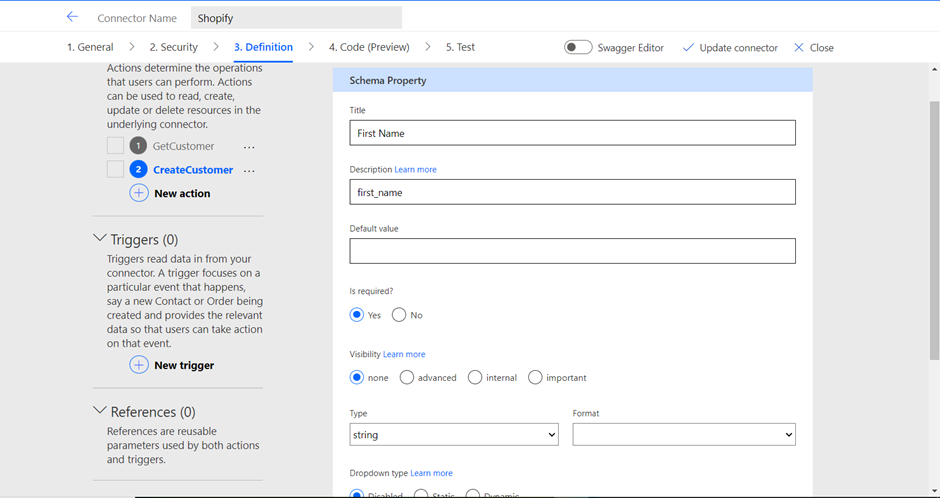
5. In the Parameter area, you now see all the parameters that the API expects to create a new customer. We will make the first name, last name, and email as required. Select ‘first_name’ click on more commands(…) and then click on edit.

6. Add a response
Go to Response section and click on “Add default Response”
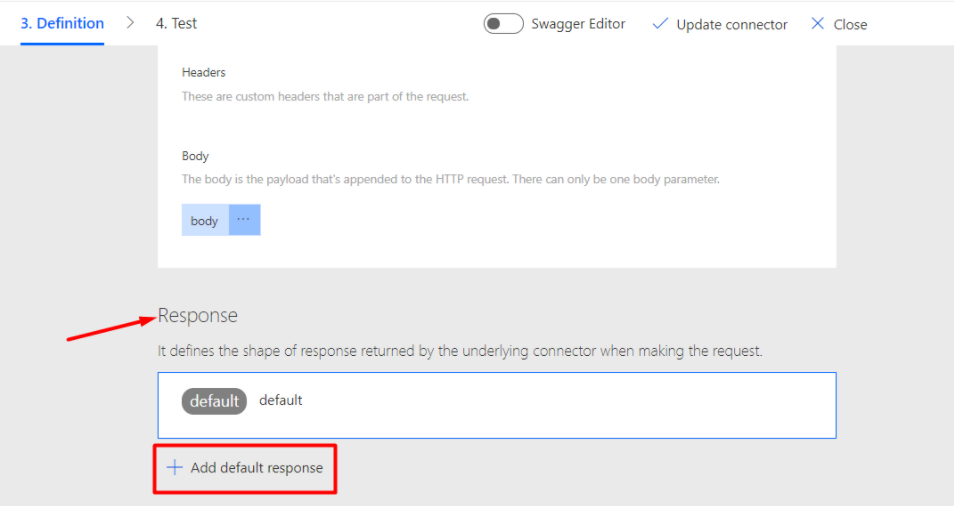
NOTE- you can add sample response from the Shopify API Documentation Customer (shopify.dev)
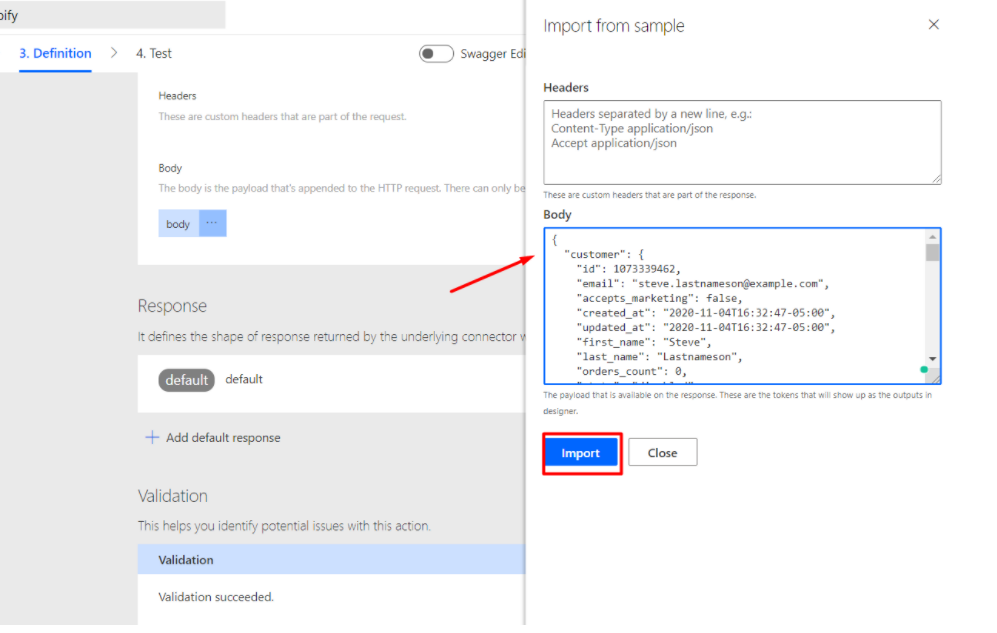
7. Paste the sample in “Body” and click on Import
8. Once all the actions are done, click on Update connector
9. Perform the below actions similarly like the above action-
Update Customer:
- Create a new Action
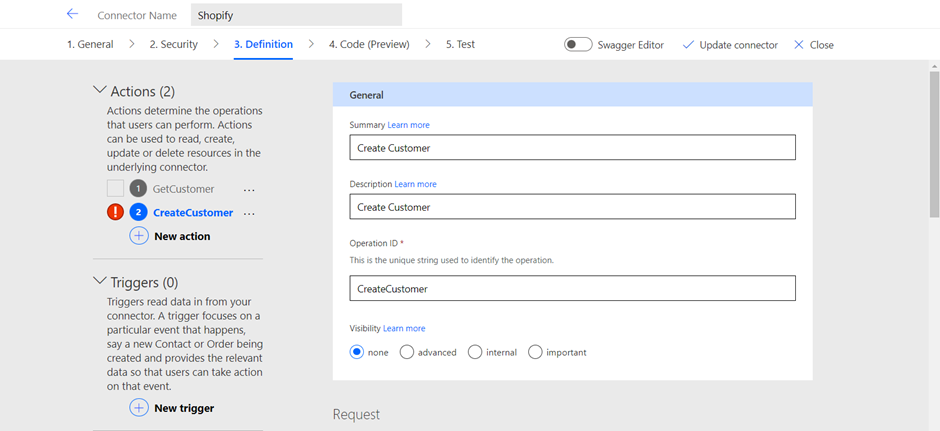
- Enter Summary, Description, and Operation ID
- Summary: Update Customer
- Description: Update Customer in Shopify
- Operation Id: UpdateCustomer
- Go to Request and Click on “Import from sample”
- Select the verb and PUT the request URL to update customer in Shopify
- URL- https://{apikey}:{password}@{hostname}/admin/api/2021-10/customers.json
- Example URL(For reference)- https://9ed959ec1ed8536c82689353bf247c78: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@sans-the-label-designer.myshopify.com/admin/api/2021-10/customers/{customer_id}.json
- Add a response.
Retrieve all Products
- Create new Action
- Enter Summary, Description, and Operation ID
- Summary: Retrieve All Products
- Description: Retrieve All Products
- Operation Id: RetrieveAllProducts
- Go to Request and Click on “Import from a sample”
- Select the verb and GET request URL to retrieve all the products.
- URL-https://{apikey}:{password}@{hostname}/admin/api/2021-10/customers.json
- Example URL (For reference)- https://9ed959ec1ed8536c82689353bf247c78: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@sans-the-label-designer.myshopify.com/admin/api/2021-10/products.json
- Add a response.
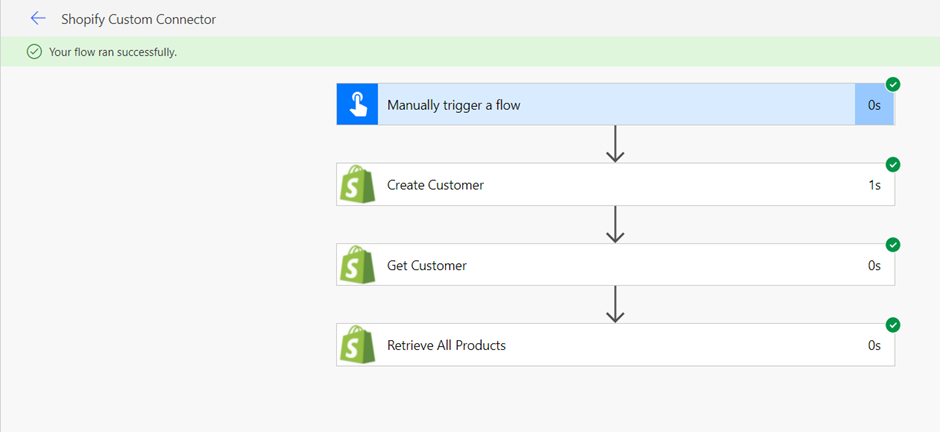
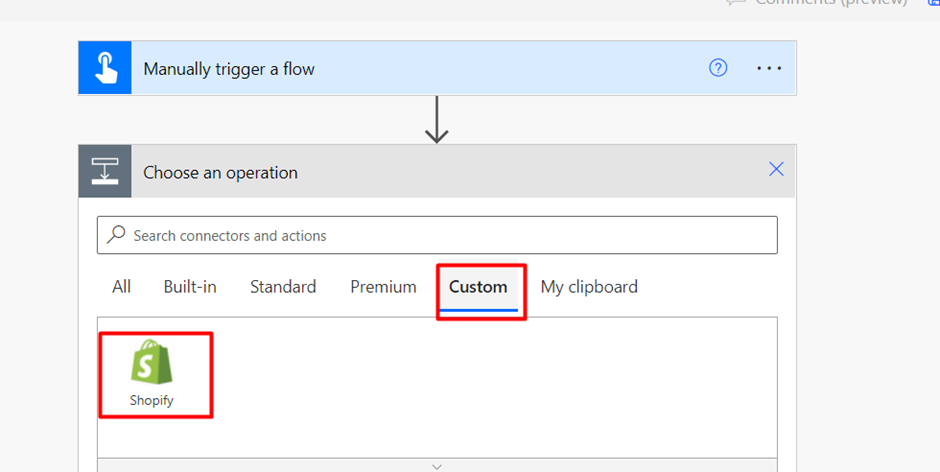
10. Using Custom Shopify connector in MS Flow. Go to Custom and select Shopify connector
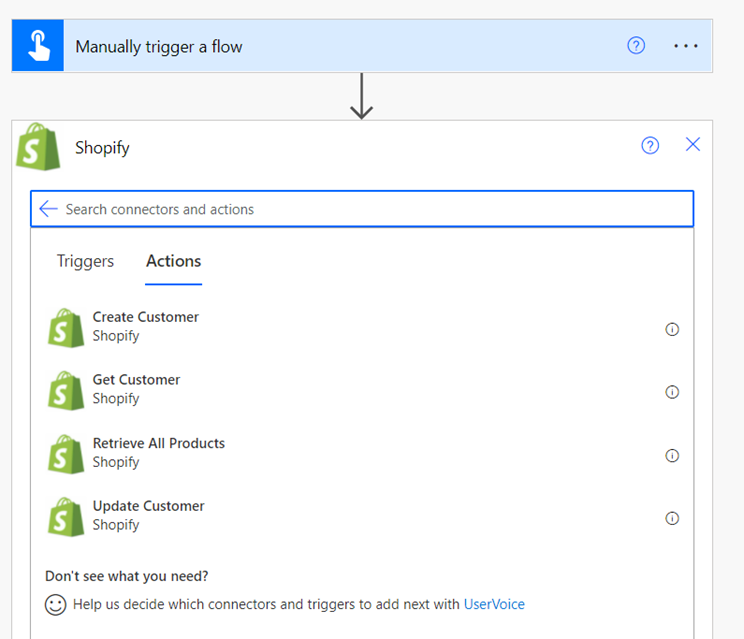
You can see all the actions
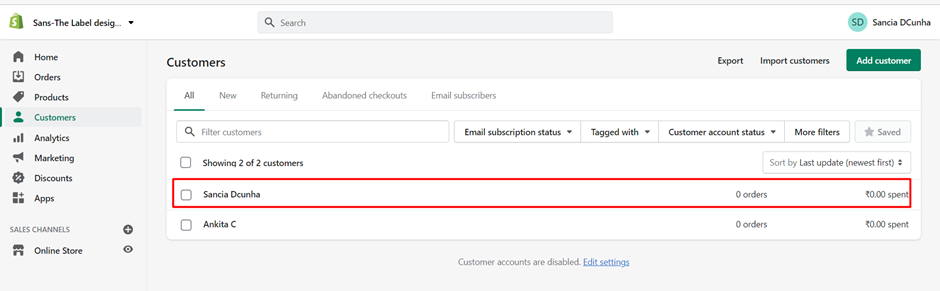
Output-